Hanging woodchip in 5 easy steps
Woodchip is Europe’s most popular wallcovering – and rightly so! Its different textures give the right feel to every ambience – from sophisticated elegance to minimalist and homely. And the best thing of all You can re-paint woodchip again and again. These how-to instructions explain how to apply woodchip to your walls.
Are you keen to use a nonwoven woodchip? We explain the steps in ”How do I wallpaper a wall with nonwoven wallpaper?”.
Step 1 – Finding the right woodchip
The many positive qualities of woodchip mean that it is always the right choice. It is made of paper and wood fibres and is therefore environmentally-friendly and healthy. It is also free of PVC and plasticisers, breathable, moisture-regulating and even suitable for allergy-sufferers.
The only question left is what texture do you want. A coarse one to disguise unevenness on the wall? A fine texture that looks like a plaster, but with all the benefits of a wallpaper? Or something more traditional? Take our Type Test and find out which wallpaper suits your needs and wishes.

Step 2 – How much wallpaper do I need?
You now need to calculate how much wallpaper you need. Measure the height and width of each wall. The length of the individual strips of wallpaper corresponds to the height of the wall. Add around ten centimetres per length to give you a little extra. Bear in mind that there will be some waste with angles and windows. So factor in a little more wallpaper. Use our Quantity Calculator for this.

Step 3 - Preparing the room
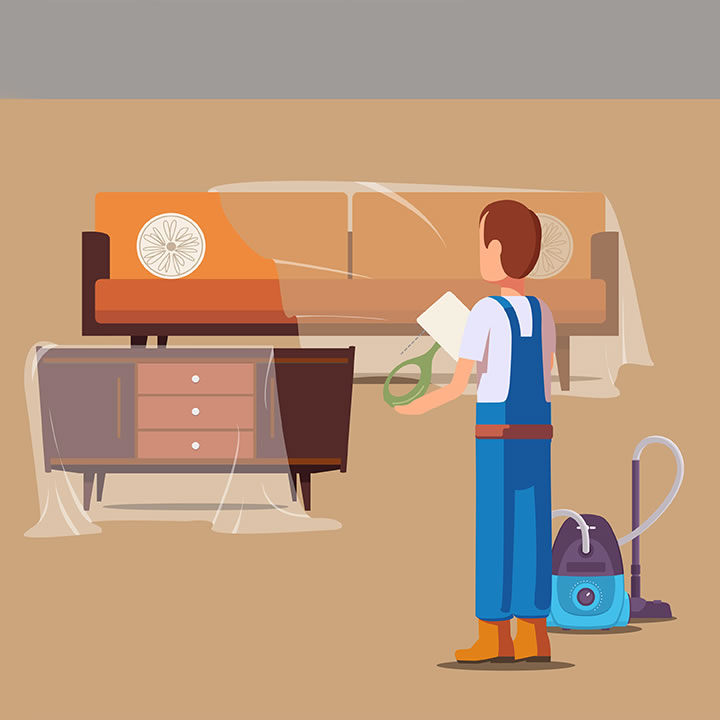
First you need to prepare the room to be wallpapered. Preferably clear all furniture out of the room. You can group large, bulky furniture together in the centre of the room.
It is essential that the entire floor and the furniture are both covered with a dust sheet or plastic film. Once you have removed all old wallpaper from the walls, you may need to fill any holes in the wall. Remove the covers of power sockets and light switches to ensure that you end up with clean edges. And switch off the power supply at the fuse box before wallpapering!
Step 4 – Preparing for wallpapering
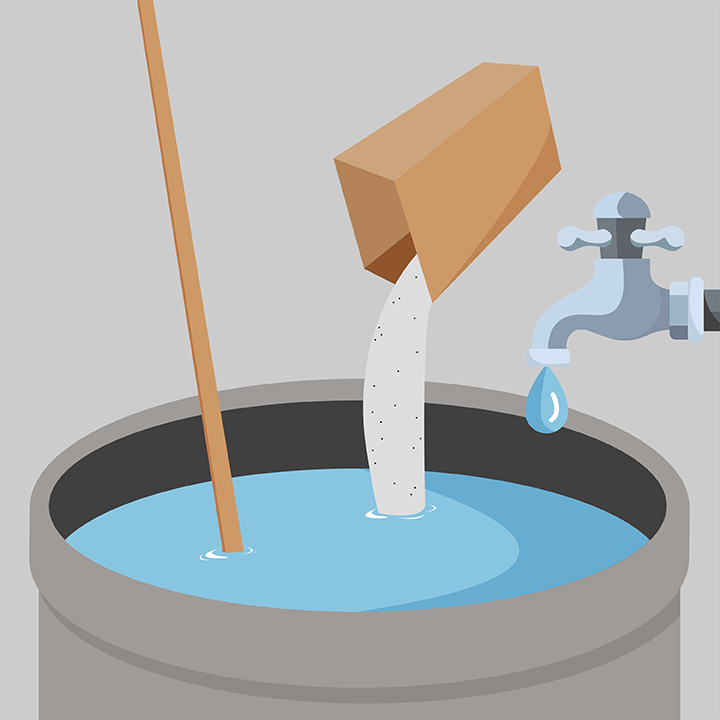
Once you have prepared the room, mix the woodchip paste with water in a large bucket and leave it to rest – note the mixing ratio specified on the pack. Give the paste another good stir before starting to wallpaper. Cut the wallpaper to the height of your wall on the pasting table. Generously apply paste to the back of the wallcovering – a wide brush is best for this. Fold the pasted length of wallpaper 2/3 to 1/3 and leave for 10 minutes to allow the paste to soak in. Always prepare three or four lengths at the same time. Now use a spirit level and yardstick to draw a straight line on the wall. The first length will be hung along this line to ensure that it is straight.
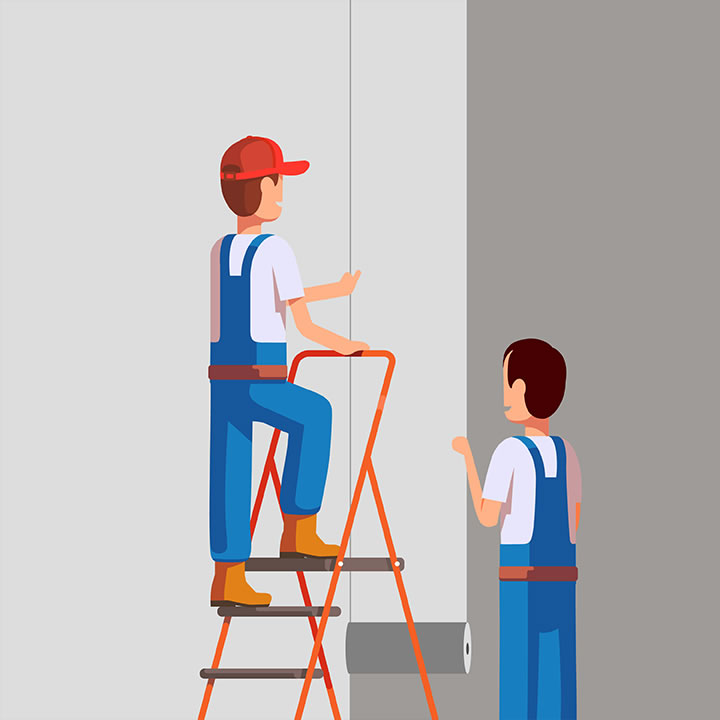
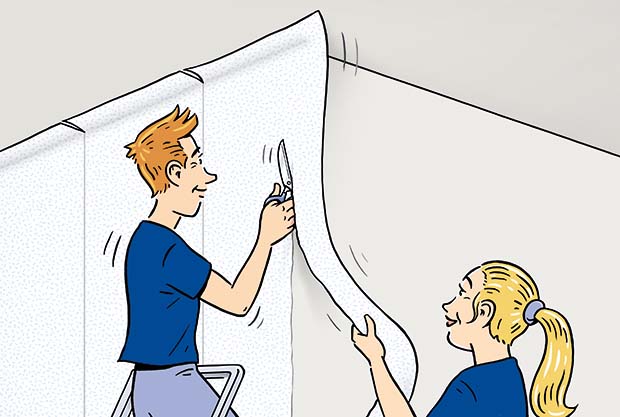
Step 5 – Wallpapering
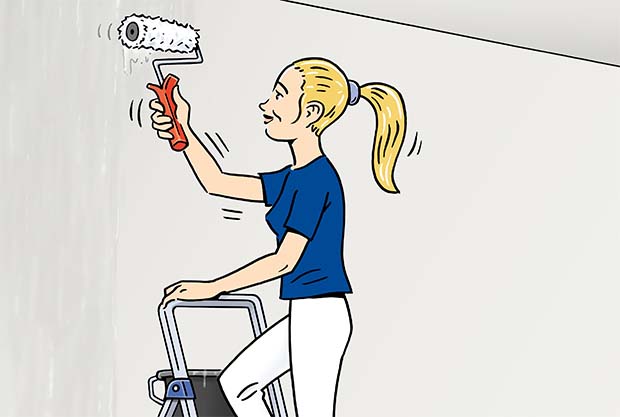
Now you can start wallpapering: Take the first length of wallpaper by the 1/3 end and position it exactly along the line you have drawn. Gently press the wallpaper to the wall at the top, let the bottom 2/3 drop and gently press it to the wall as well. Once the length is hanging on the wall, use a wallpapering brush or a foam rubber roller to smooth it to remove any air bubbles. Work from top to bottom and from the centre outwards Once the woodchip is hung on the wall, you can now use scissors to remove the overlapping ends: to do so, firmly press the wallpaper into the corners at the floor and ceiling, pull if off again and cut it along the seam that you have created. Then press it back into the corner and you’ve finished the first strip. You’ll also find handy hints and instructions here. Paste the next lengths in the same way. Make sure that you always hang the lengths edge to edge, taking care not to overlap the edges, which will create unattractive joins. Once you have removed the covers of power sockets and lights switches, it is easy to wallpaper over them and then “cut them out” using a Stanley knife or scissors. Allow the wallcovering to dry for a minimum of twelve hours before painting. Our How-to instructions offer help with painting. Good luck and have fun in your new home!