Step-by-step guide to painting wallcoverings
It’s best to start with decorating the walls if you want to create a new ambience in a room. Your walls may already be decorated with an old or damaged wallcovering, or maybe you just no longer like it. Then you need to decide whether you wish to apply a new wallcovering or just paint over the old one. We would recommend using ERFURT wallcoverings that can be painted over as many times as you wish.
Professionals advise removing any old wallcoverings before painting a wall. But this can often be problematical with strongly adhesive wallcoverings. Painting over the wallcovering may then be the better alternative. Read on to find out how to tell whether the old wallcovering is suitable for painting. We explain step by step what you need to do to obtain stellar results.
Do you still have to wallpaper? Then you’ll finds lots of useful hints and ideas about wallpapering here.
- Step by step
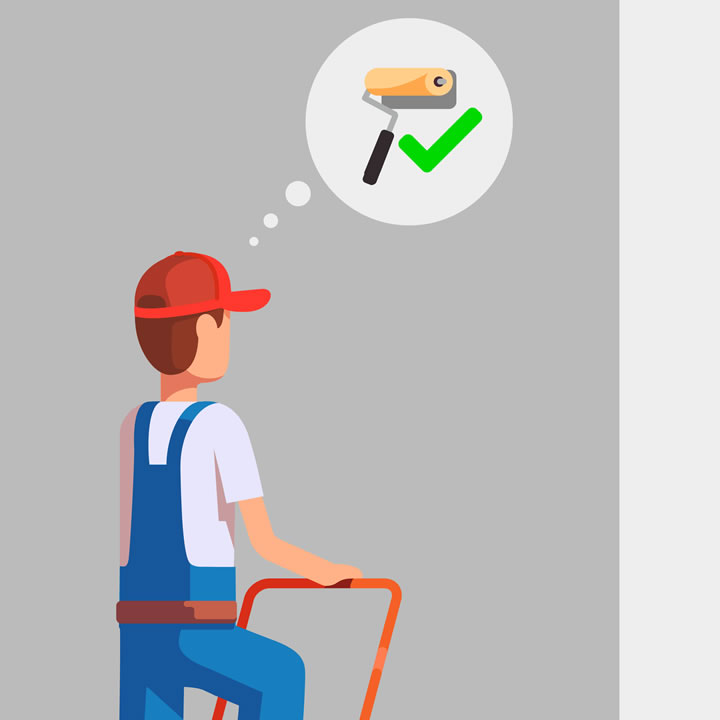
- Step 1 – Check whether the wallcovering is suitable to be painted
- Step 2 – Test whether the wallcovering is firm enough to be painted
- Step 3 – Recognise when the wallcovering can no longer be painted
- Step 4 – Prepare a room
- Step 5 – Prepare the wallcovering/wall
- Step 6 – Select suitable colours for painting over the wallcovering
- Step 6 – Paint the wallcovering
- List of tools
- List of materials
It’s better to put up new wallpaper! You’re certain to find relevant articles here.
Step 1 – Check whether the wallcovering is suitable to be painted
First check whether the wallcovering on the wall is suitable to be painted. Should you decide to wallpaper, you cannot go wrong with ERFURT wallcoverings as they can usually be repainted several times – woodchip or nonwoven woodchip wallcoverings, for instance, are the perfect base surface for almost all wall paints and can be customised to suit your taste – whether with stencilling or other decorative paint techniques.
Before starting work, check whether the paint on the wall is chalky: simply run your hand over the surface of the wall – if your hands become discoloured, then the wall is chalking and it is not suitable for painting. New paint will not adhere to this base.
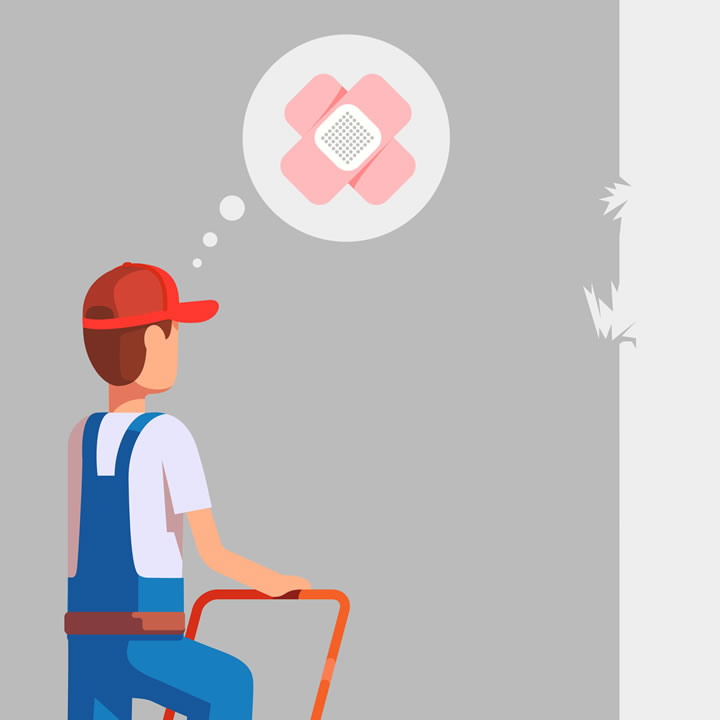
Step 2 – Test whether the wallcovering is firm enough to be painted
Of course, you also need to test whether the wallcovering is firmly bonded across the entire surface, so that it doesn’t fall off the wall once it has been painted. This is especially critical at the corners, edges and seams of the individual lengths and around windows, edges or beams. Fine cracks, small loose corners or tiny air holes can be fixed with wallpaper paste. However, if the wallcovering is already coming off the wall, there is no way of avoiding applying a new wallcovering. If wallcoverings are already coming loose, they will most likely continue to loosen. Ideally you should wallpaper directly with ERFURT paintable wallcoverings, which will retain their texture even after many years and many coats of paint.
Step 3 – Recognise when the wallcovering can no longer be painted
Woodchip wallcoverings can generally be painted several times, which is why they are the ideal wallcovering for anyone who likes to change the look of their walls. With textured patterned wallcoverings, the thickness of the wallcovering determines whether they can be painted over a second or third time. Do not paint over again if the paint is already peeling off or if holes are visible in the wallcovering. The old wallcovering will not withstand the weight of the paint and the holes will continue to be an aesthetic problem even after the wallcovering has been painted.
If you decide to apply a new ERFURT wallcovering to the wall, you can redecorate your walls over and over again.

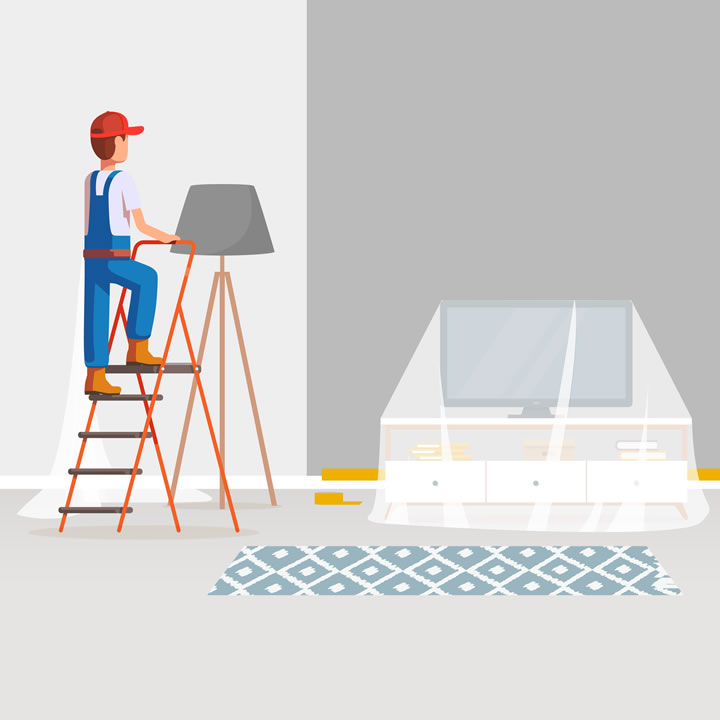
Step 4 – Prepare a room
If you have decided it’s time to repaint your wallcovering, then now is the time to prepare for painting. Protect the floor covering by meticulously covering it and fixing this in place with masking tape – pay particular attention to plug sockets, window sills and door frames. Splashes of paint are often stubborn to remove. Remove any visible spider webs before starting to paint.
Step 5 – Prepare the wallcovering/wall
When you run your hand over the wall, the wall should be flat and even. First, fill any holes in the wall and then sand them smooth. Check whether the base surface is sufficiently absorbent: Spray water onto the wall. If the base surface turns very dark, it means that it the wall surface is too absorbent, but it is not absorbent enough if the water will drip off.

Step 6 – Select suitable colours for painting over the wallcovering
And now you need a suitable paint – a good rule of thumb is to steer clear of cheap paint. These are mixed with chalks, and are therefore too viscous and will blur the textures. High-grade paints are mixed with colour pigments. They make the paint beautifully fluid so that less of the texture is lost. Textures can be accentuated beautifully with a satin gloss latex paint.
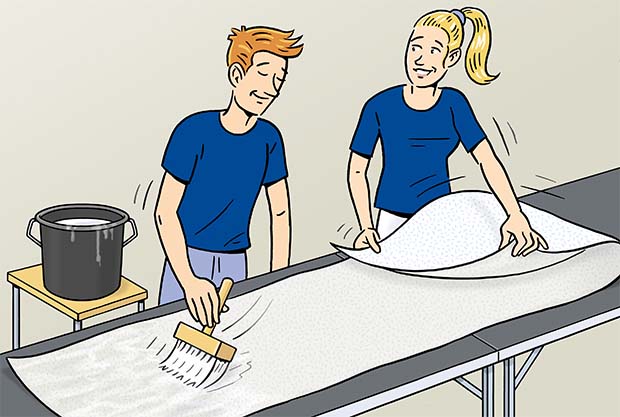
Always remove patterned wallcoverings and/or printed wallcoverings and replace them with new flat or textured wallcoverings, which can then be painted with ease. It is hard to achieve an even colour when painting over patterned wallcoverings due to their light and dark areas.
The shade of paint also needs to be well considered. Relevant publications will provide you with information and inspiration.

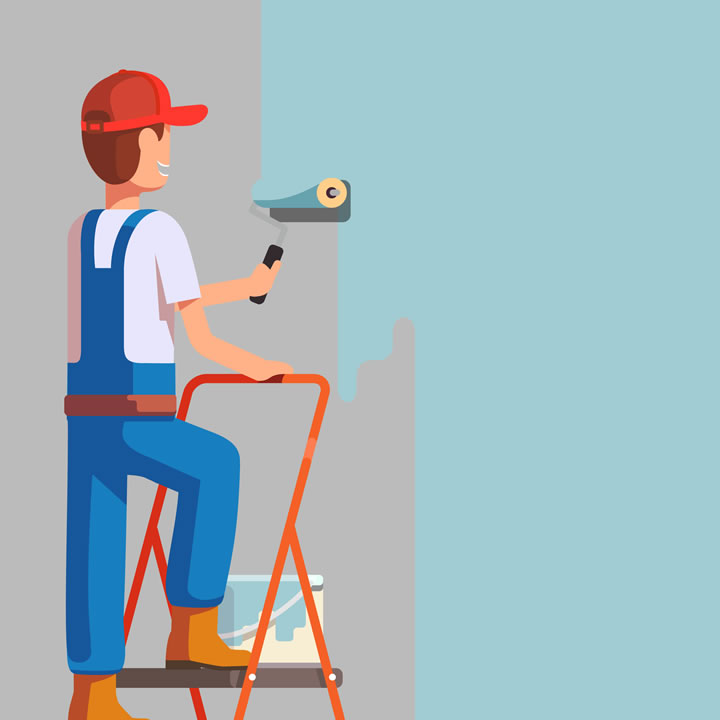
Step 7 – Paint the wallcovering
Finally, it’s time: you can start painting. First use a flat or round brush to paint approx. 10 cm wide strips around edges and corners. Then paint the adjacent area with a paint roller, providing the paint is still wet. Make sure that you only paint as many corners and edges so that you are still painting the adjacent wall “wet-on-wet” – wall paint dries quickly.
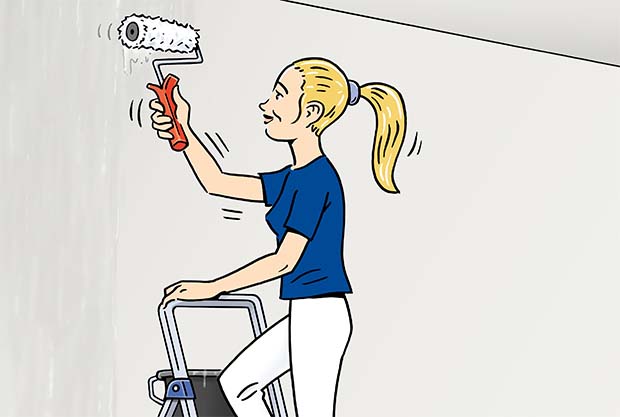
To paint with a paint roller:
Dip the paint roller in the paint and scrape off excess paint on the grid, paint the wall vertically and then immediately, with the same roller and without dipping it in the paint again, paint it horizontally. Finally paint again vertically with straight, overlapping strokes to ensure that the paint is evenly applied. Strong colours generally need two coats of paint, allowing the paint to dry for 1–3 hours between coats.
This also applies if you wish to repaint your ERFURT wallcovering because you can give your room a new look. Your woodchip or nonwoven wallcovering will appear in an entirely new light.