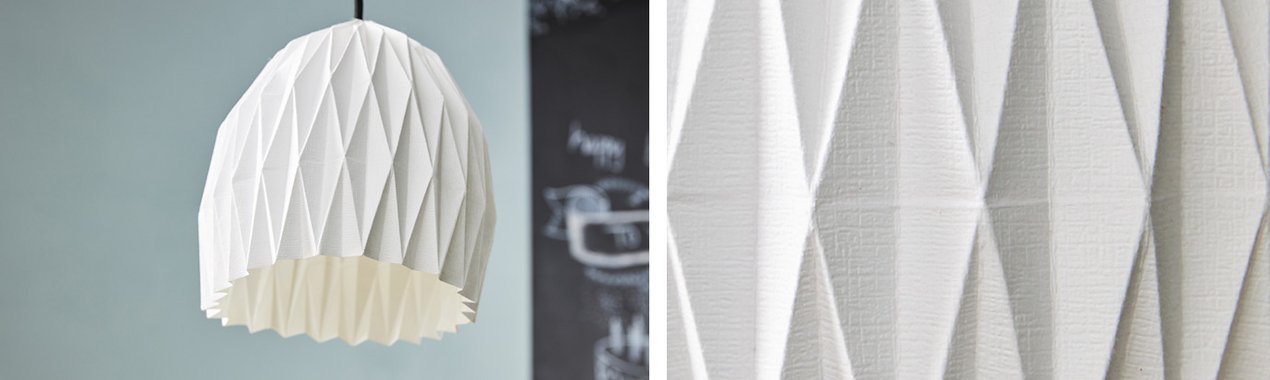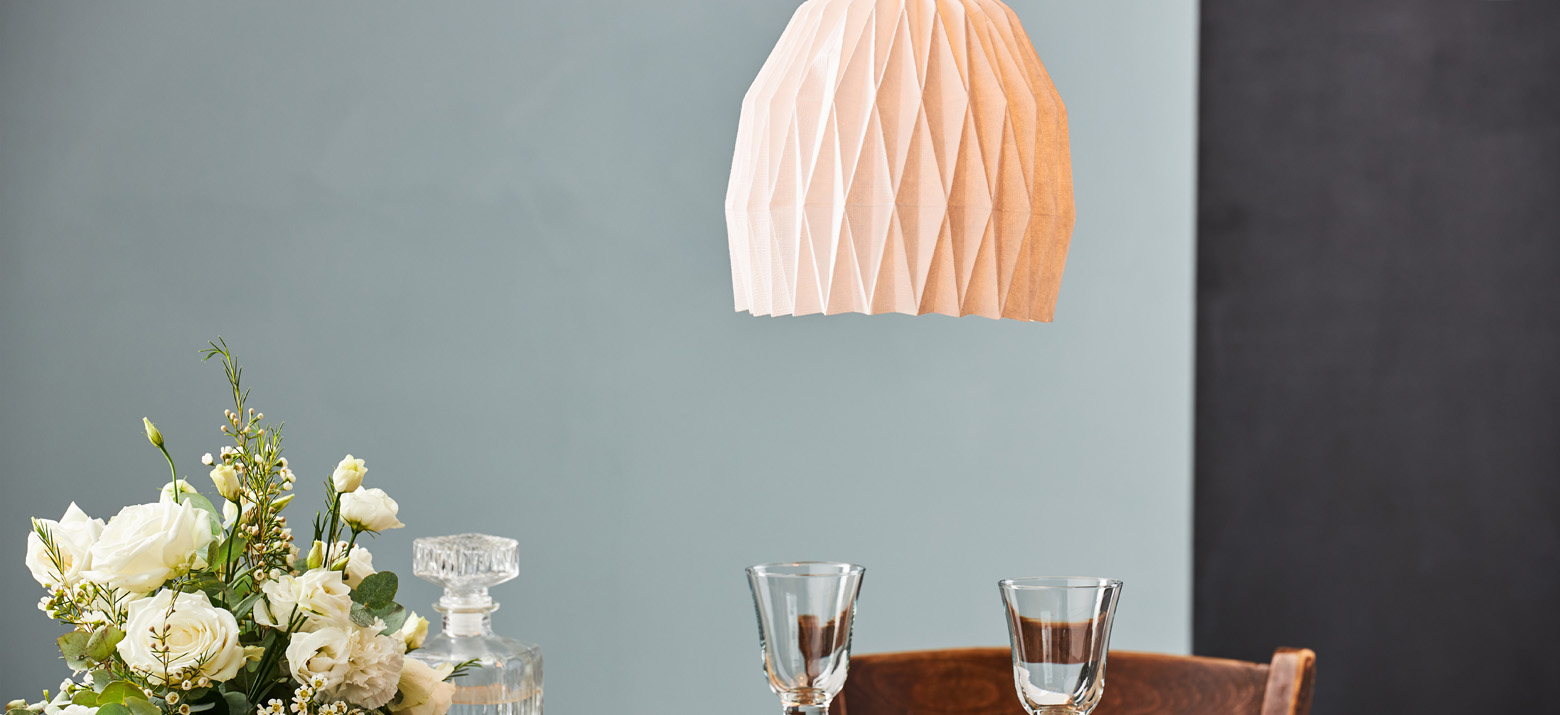
Lamp shade
Step-by-step guide
The fun thing about crafting with wallpaper? You can cut it to any length! Wallpaper is therefore ideal for projects where you need long lengths of paper.
An origami lamp, like this one, requires at least one metre of wallpaper. Normally, you would use A4 sheets of paper for this, which would involve a lot of gluing and unsightly joins. Wallpaper also has attractive textures, which can create a cosy light when light shines through them.
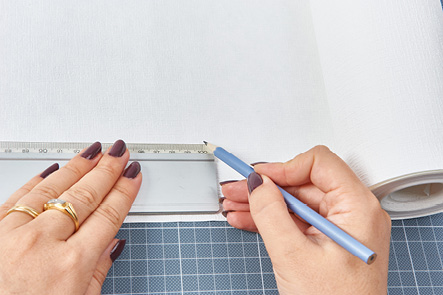
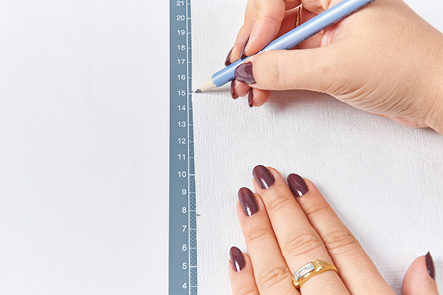
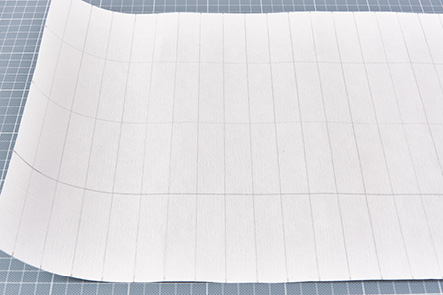
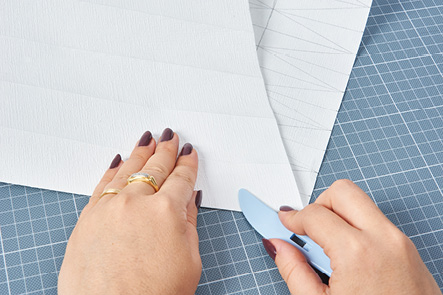
1. Once you have all the materials ready, unroll the wallpaper and cut off a length of one metre. When cutting and measuring, be sure to work very precisely, otherwise the result will later not fit together correctly and, in the worst case, will look askew. Then measure a 30 cm-wide section of wallpaper, mark it, and cut it off as well.

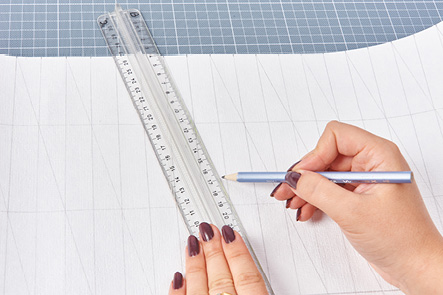
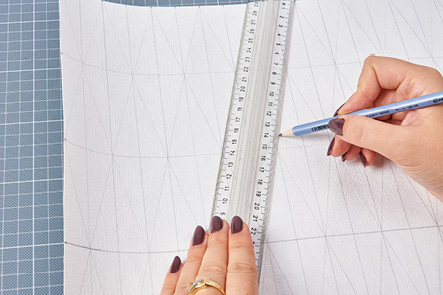
7. Then fold the diagonal lines as precisely as possible (pre-drawn side to pre-drawn side) and press firmly with the folding stick. Scarifying all the pencil lines first with a sharp object or the back of the folding stick can make the lines even more precise and easier to fold. Continue in the same way with the diagonal lines in the other direction.
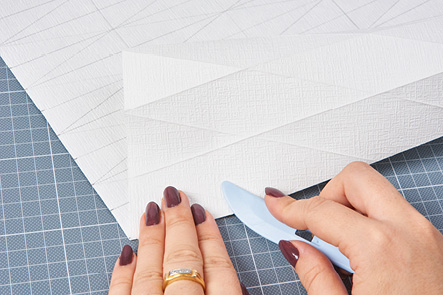
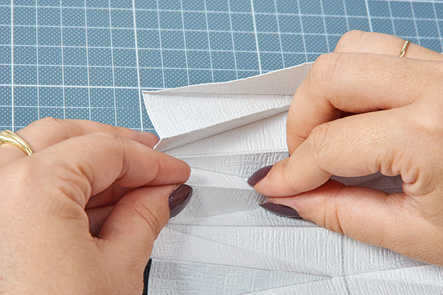
8. The folds you have created so far are called "valley folds" because they point downwards. Now turn the paper over to work with "mountain folds" that will point up from the pre-drawn side . To do this, fold the non-pre-drawn side onto the other non-pre-drawn side on the parallel lines and make a defined fold.
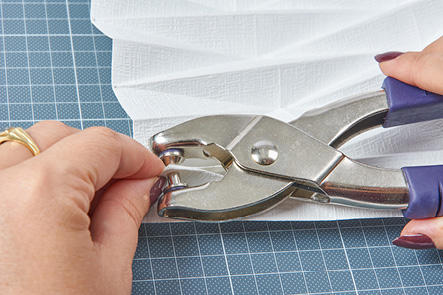
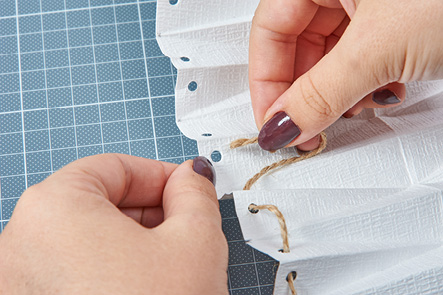
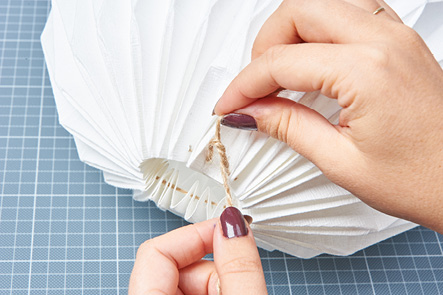
11. Then you just need to thread through the string. To do this, it is best to press together the mountain fold, as you did when punching the holes, and thread the string through. Gently pull the string together and tie the ends to create the round shape of the lamp shade. Overlap the end edges of the lamp shade so that the folds fit exactly together and fix them in place with a glue stick. Knot the string as tightly as you need it to be. You will get a narrower lamp shade the tighter you pull the ends together. However, adapt the size of the opening to your existing lamp fitting.