Wallpapering outside corners with woodchip and paper wallcoverings
Step-by-step instruction
Have you come to an outside corner? Don’t despair. The following step-by-step instructions will guarantee perfect results
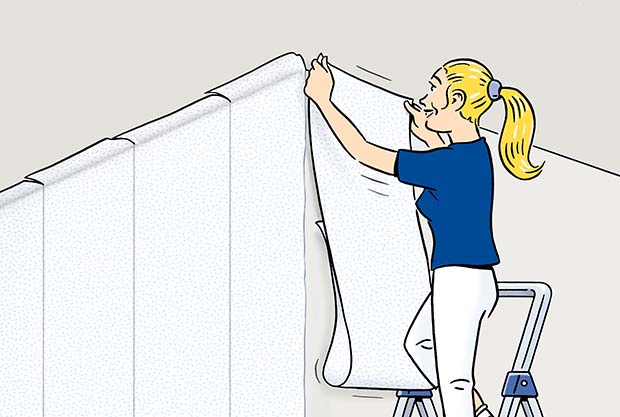
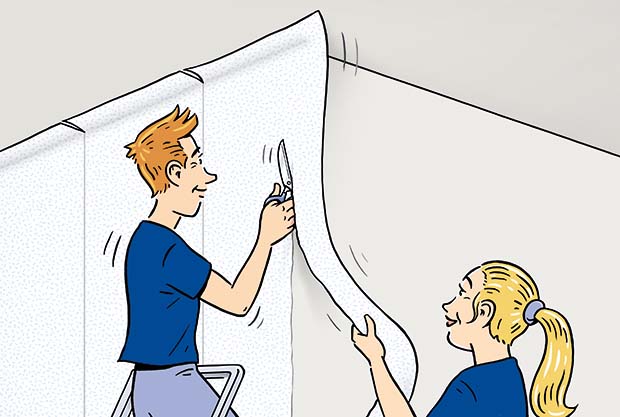
Step 1 - Apply the lengths and cut at the corner
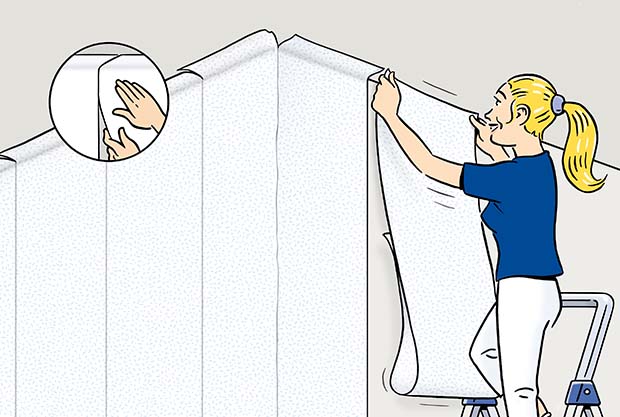
- Adjust the length, as usual, edge to edge with the previous length, apply it around the corner and press firmly in place. Now pull back a section again up to the corner. Using sharp scissors, cut the wallcovering along the corner working upwards
Handy hint: If you trust yourself, use a wallpapering knife to "slice" through the woodchip wallpaper from top to bottom. This will create a better visual result.
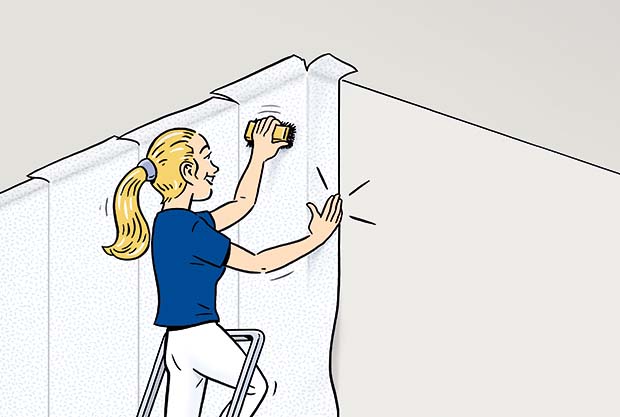
Step 2 – Apply the next length from the corner outwards
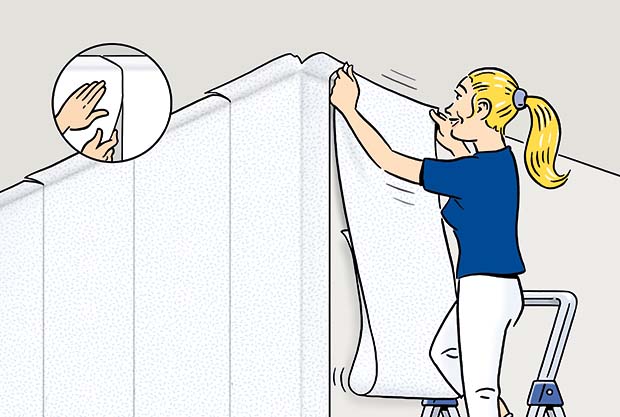
- Do not use the remaining piece of wallcovering. Use a new length! Check that it is plumb, remove 2-3cm, wallpaper as far as the corner and use scissors to cut off the excess again
- Position precisely adjacent to the other wallcovering length and continue working as normal
- Rub a little paste into the corner
Handy hint: Either use your finger or a small piece of wallpaper to do this. Simply apply a little paste and spread it along the corner. It will no longer be visible once the wall has been painted