Step-by-step instruction
Wallpapering is not as difficult as you may think and everyone can achieve great results with a little patience. Decorating walls is simple and easy if you bear in mind a few handy hints. You just need the right tools and materials - and then you can get started! Do-it-yourself lets you add your own personal touch to a room
Step 1 - Preparations
- Either completely empty the room or move everything to the centre of the room and cover with film
- Dismantle plug sockets and light switches
Important note: Don’t forget to switch off the power!
- Cover an area approx. 1 metre wide along the wall if the flooring is already laid.
Handy hint: Use a non-slip cover (fleece dust sheet) so that your ladder does not take on a life of its own
- Fully remove old wallcoverings
- Get your materials ready

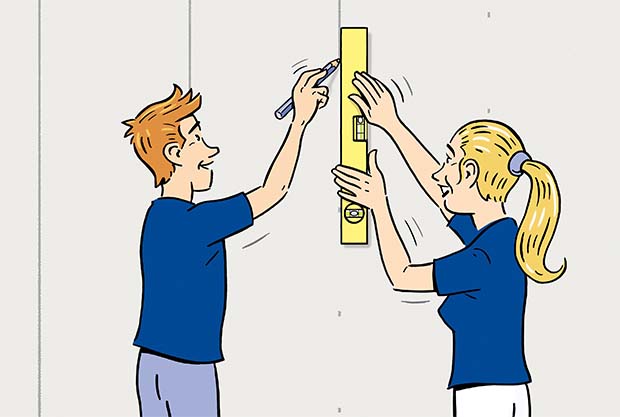
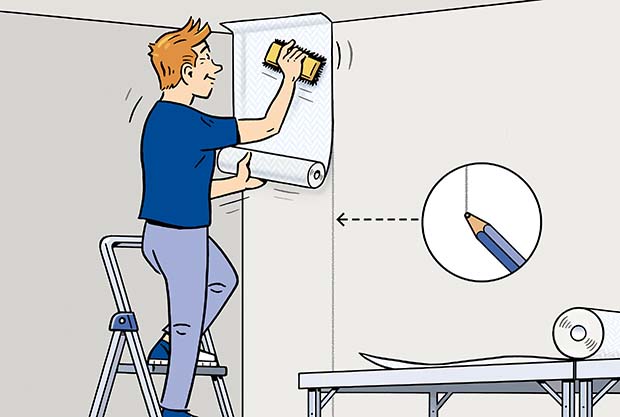
Step 2 - Draw the first path
- Take the width of the wallcovering minus 2 - 3 cm. Mark this width measurement at several points vertically along the wall. Use a spirit level to connect the points in a straight line
Handy hint: Always start in the corner of a room at the window and work “away from the light”

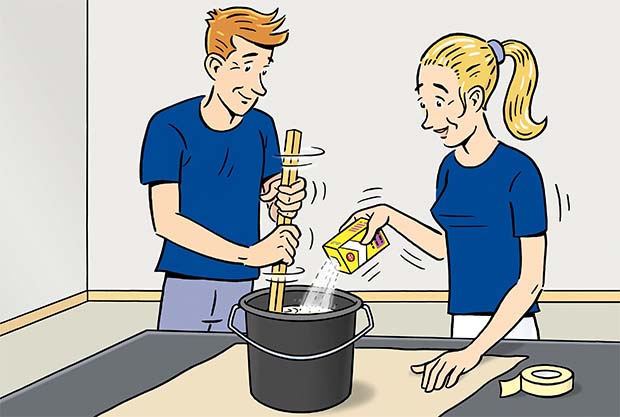
Step 5 - Pasting
- Apply masking tape to windows and door frames as this will prevent you having to clean off paste at a later stage
- Use a short-pile roller to apply paste evenly to the wall – do not apply it to the nonwoven wallpaper
Handy hint: Use a radiator brush to apply paste to where the wall meets the floor and ceiling
Step 6 - Create first lane
- Position the first length of the dry nonwoven wallcovering at the top of the wall
- Note the line you have drawn – position the wallcovering along it to achieve a straight length
- Let it overlap a few centimetres at the top
- There will automatically be an excess width in the corner as the first length has been drawn 2 - 3 centimetres narrower
- Once the top part of the wallcovering is positioned properly, slowly unroll it and use a wallpapering brush to apply light pressure to smooth the length out from the centre to the sides. This allows any excess air to escape and spreads the paste evenly to leave a crease-free length of wallcovering on the wall
- Continue unrolling the length and work your way gradually downwards
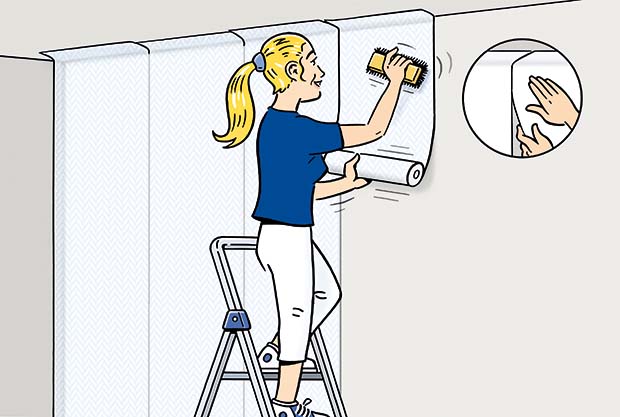
Step 7 - Create more lanes
- Position the following lengths next to each other edge to edge. This means that the lengths only just touch each other but do not overlap
- Once again here, leave some excess length at the ceiling
- Now use the wallpapering brush to smooth out perfectly as you go
- If necessary, use a seam roller to press down the seams
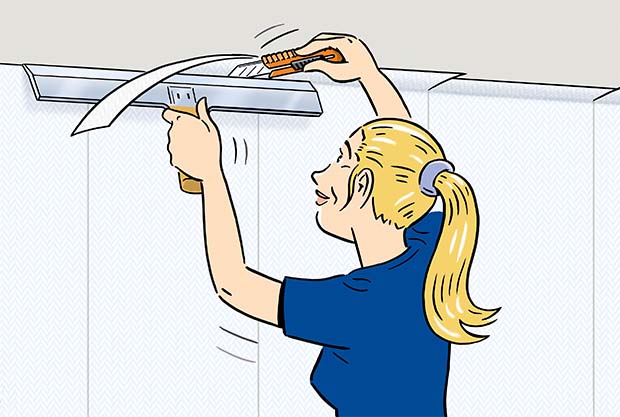
Step 8 - Cut off overhangs
- Use a wallpapering palette knife to press the length firmly into the corner and use a Stanley knife to cut it off along the palette knife. Alternatively, mark it with a pencil or scissors and cut off the excess.
- Cut out plug sockets and light switches along their metal surrounds
Important note: Be sure to switch off power in advance by turning off the relevant switch in the fuse box!
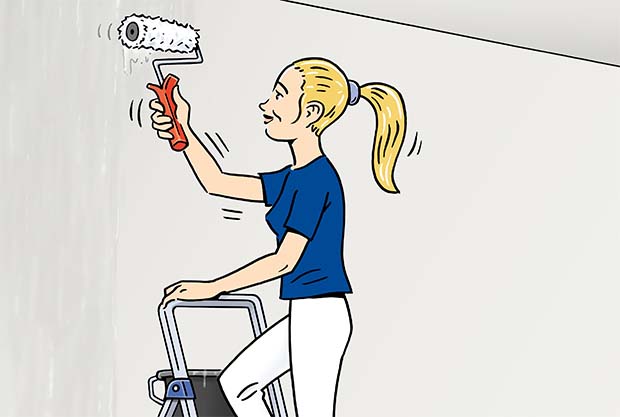
- You’re finished! Now take a break. You can paint the wall once you have let it dry for approx 6 to 24 hours
Handy hint: Avoid draughts and excessive heat when drying the wallcovering