Pastel Walls

Step-by-step guide

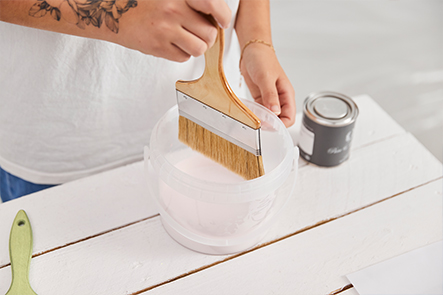
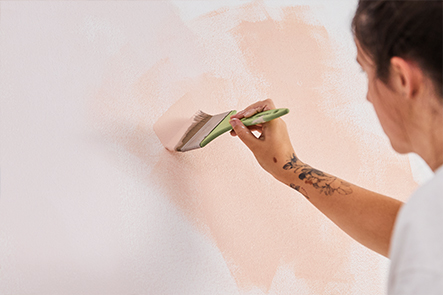
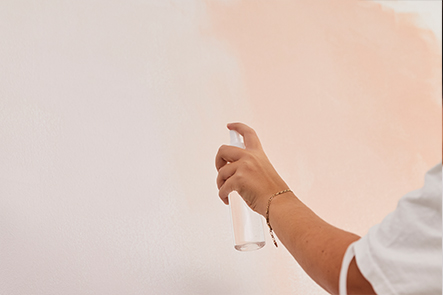
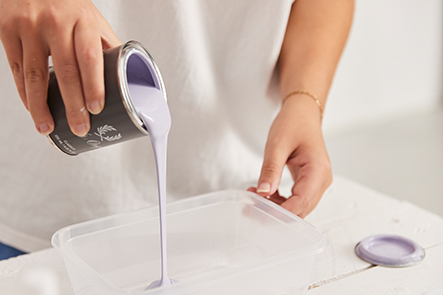
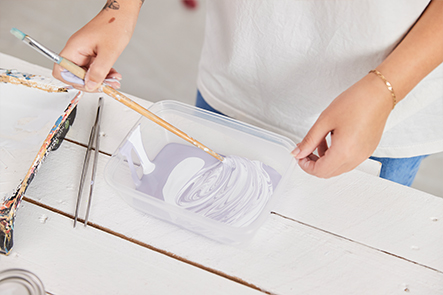
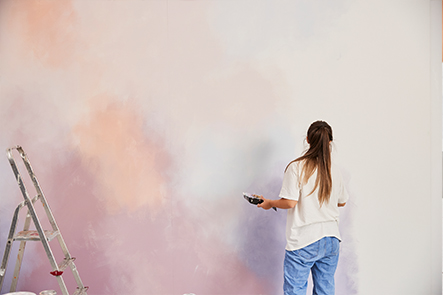
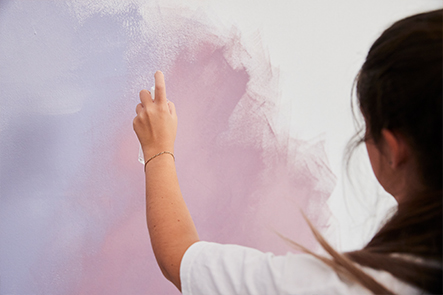
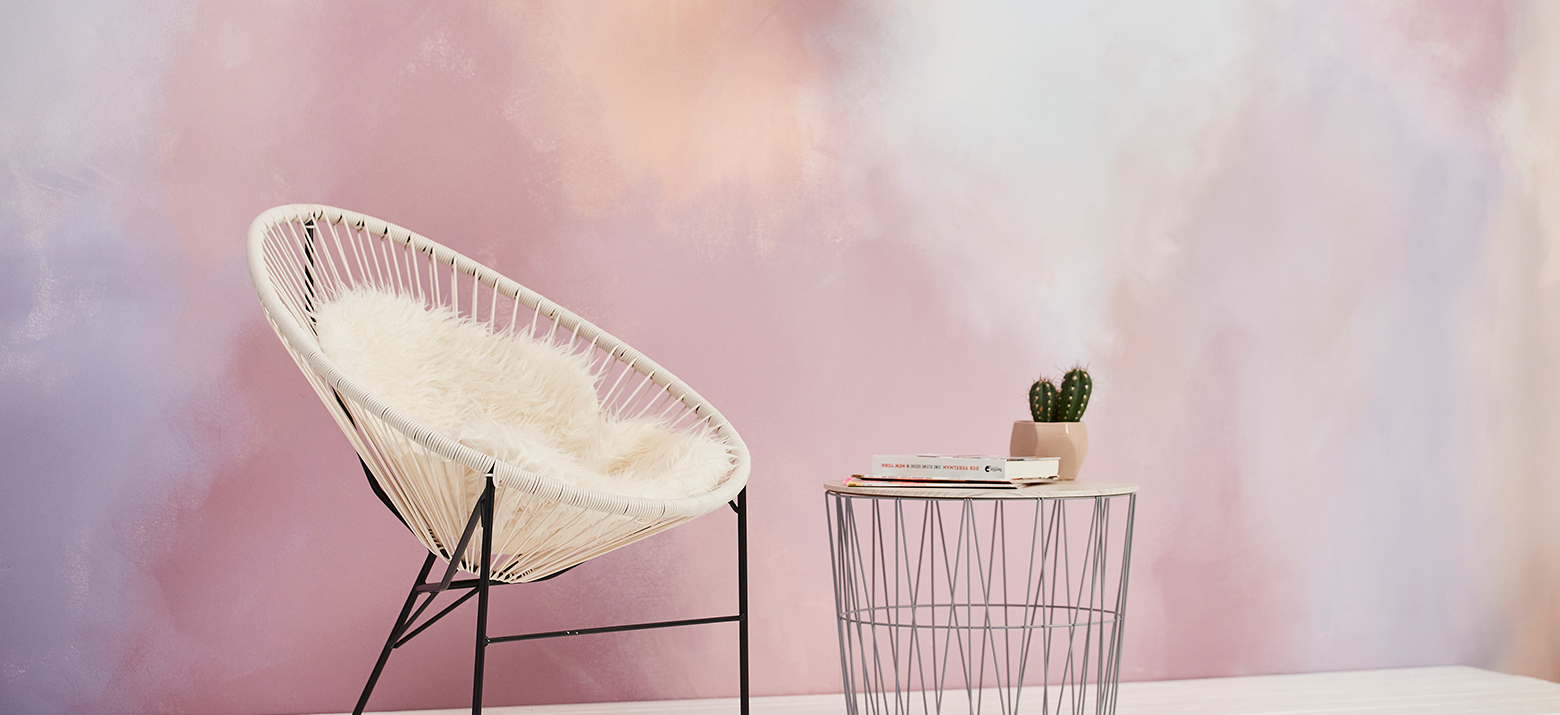
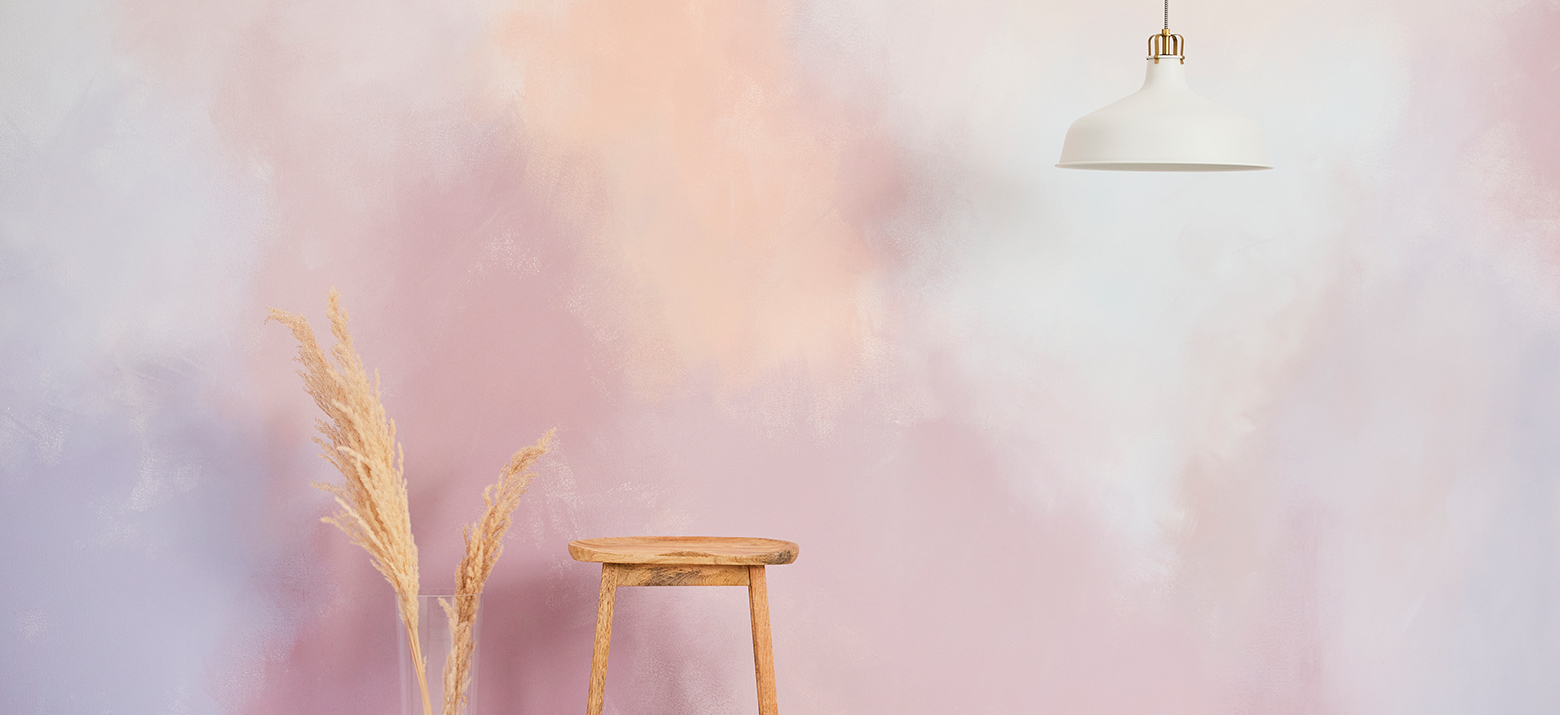
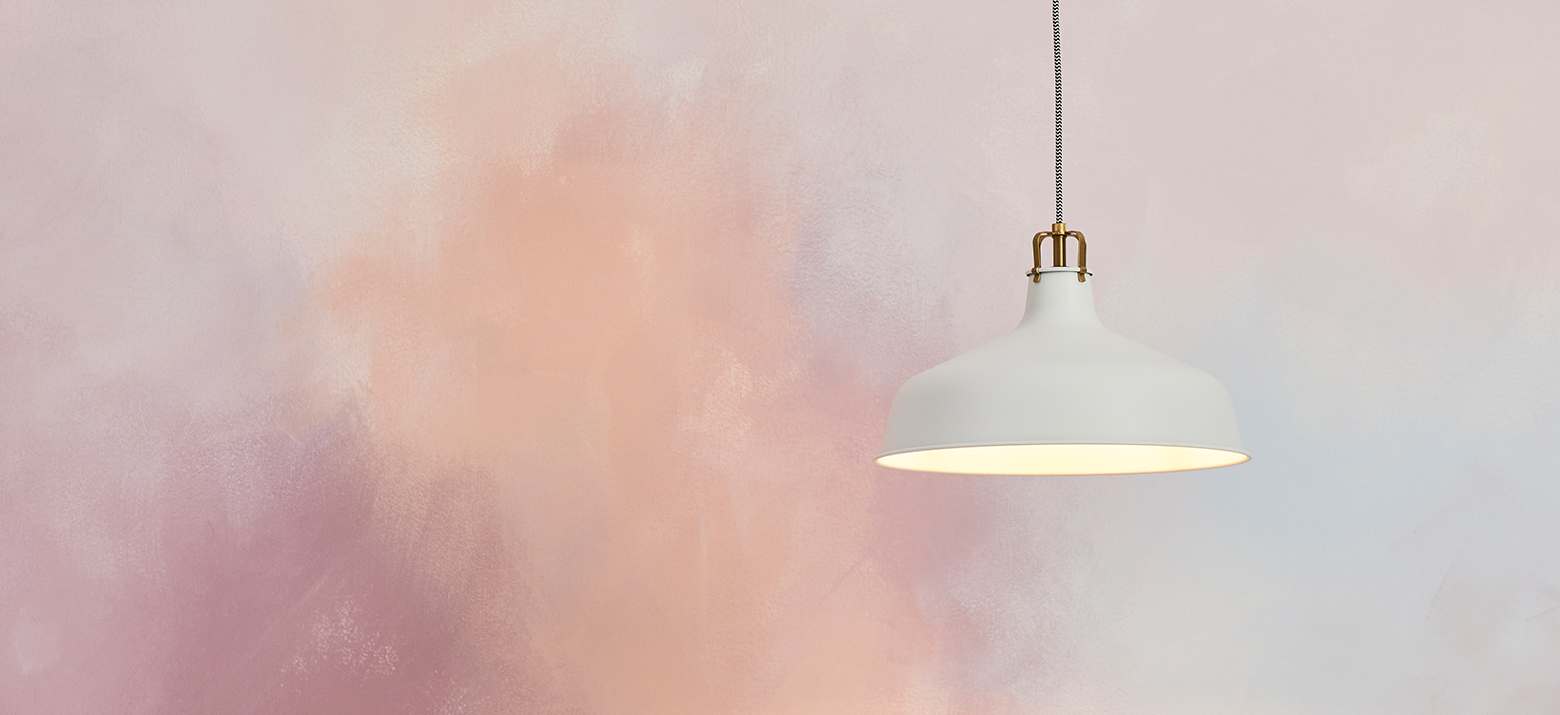
As soft as a feather and as fluffy as a cloud: our watercolour-look wall creates a unique and almost magical atmosphere. A dreamlike look for your home, thanks to matt pastel colours and subtle overlaps!

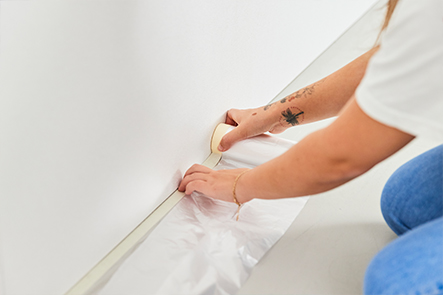
First, apply a textured wallcovering of your choice to the wall to be decorated. We opted here for ERFURT-Vliesfaser MAXX Fieno 218. These step-by-step instructions show how easy it is to achieve this effect.

1. First, prepare the wall for wallpapering and bring together all your materials.

2. Now properly cover the floor to protect it as water spray and wiping the overlaps can create splashing.


3. Pour the first colour of paint into a bucket and evenly paint the first section of the wall. Make sure that you work from inside outwards, letting the paint run out as you work outwards.

4. Pour the second colour of paint into a bucket and paint the next section of the wall as you did with the first shade.

5. Moisten the paint with your spray bottle again and again where the colours meet and use a brush to smudge the colours so that they run into each other.

6. Pour the next colour of paint into a bucket.

7. You can also create great effects by mixing the colours.


8. Spread different areas of colour on the wall to achieve the effect you wish.

9. Continue to use water to blur and smudge the areas where the paints meet or apply your mixed shade of paint in between the colours.

List of tools for the pastel wall

  • Short-pile roller for pasting the wall
  • Stanley knife
  • Several plastic buckets for mixing paint
  • Several wide paintbrushes
  • Spray bottle containing water

List of materials

  • Wallpaper
  • Paste
  • Protective plastic or fleece dust sheet
  • Adhesive tape
  • Different shades of paint
thumb_large_1377x412

Pastel Walls