Wallpapering inside corners with woodchip or paper wallcoverings
Step-by-step guide
Wallpapering inside corners made easy with the following handy hints and tips
- Step 1 – Version 1 – Cut off the last length before the corner, then apply
- Step 1 – Version 2 – Place the whole length of wallpaper in the corner
- Step 2 – Version 2 – Cut off the length of wallpaper in the corner
- Step 3 – Apply the next length working from the corner
- Step 4 – Apply the remaining lengths
Step 1 – Version 1 – Cut off the last length before the corner, then apply
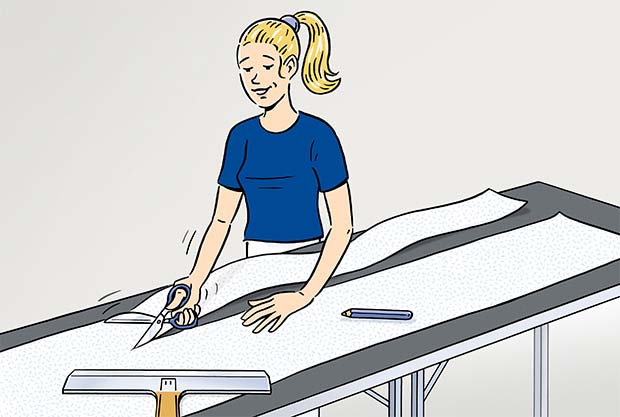
- We recommend cutting the last length if it is significantly wider than the distance to the corner. Measure the distance to the corner and add on 2-3 cm. Cut an entire length of woodchip or paper wallcovering to this width
- Either use scissors or a wallpapering knife to press a fold in the length of wallpaper and then cut along this line
- Position the pasted cut length in the corner.
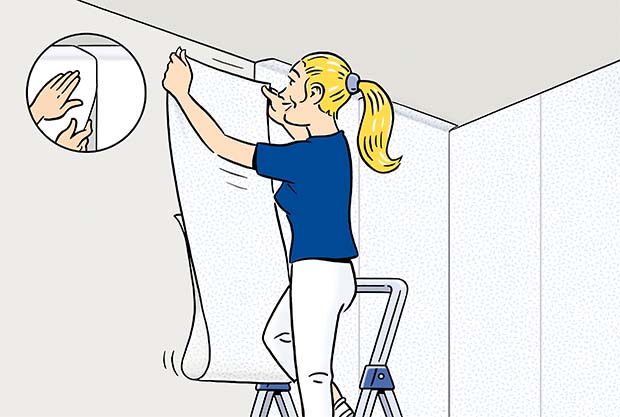
Step 1 – Version 2– Place the whole length of wallpaper in the corner
- If the length of wallpaper is not much wider than the distance to the corner, then simply apply the length to the wall in the same way as the previous one, edge to edge to the previous length
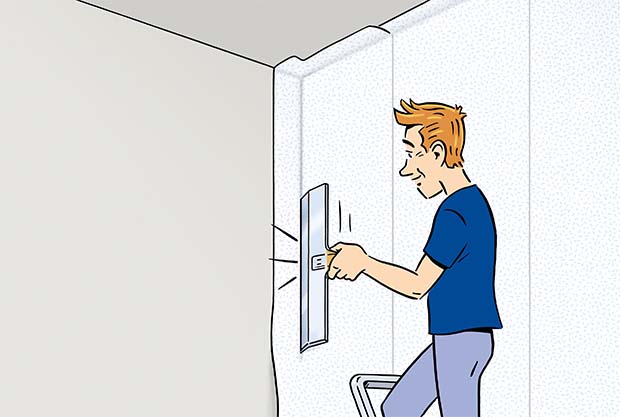
- Use a wallpapering palette knife to press the wallcovering firmly into the corner and use a pencil or scissors to mark the corner
Step 3 – Apply the next length working from the corner
- If the corner is perfectly straight, you can position the next length directly in the corner and continue working along a flat wall
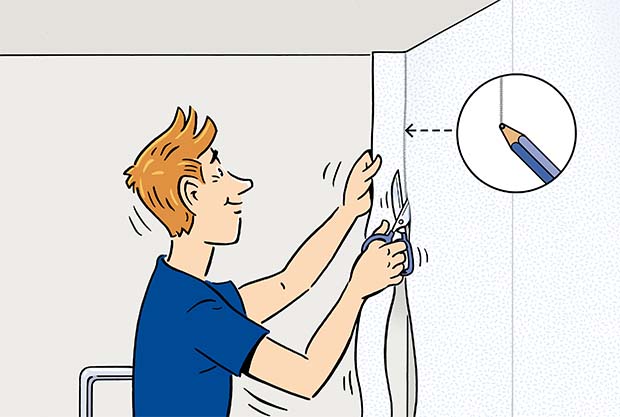
- If the corner is not 100 % straight, overlap the length 2-3 cm in the corner, press it firmly into the corner with a palette knife, use a pencil or scissors to mark the corner, pull it off slightly and cut along the marking
Handy hint: If the corner is not completely straight, we recommend drawing a new plumb line and hanging the wallcovering from that line to ensure that the next lengths remain straight