![[Translate to English:]](/fileadmin/user_upload/Streichen_Streifen_fertig_quer_01.jpg "[Translate to English:]")
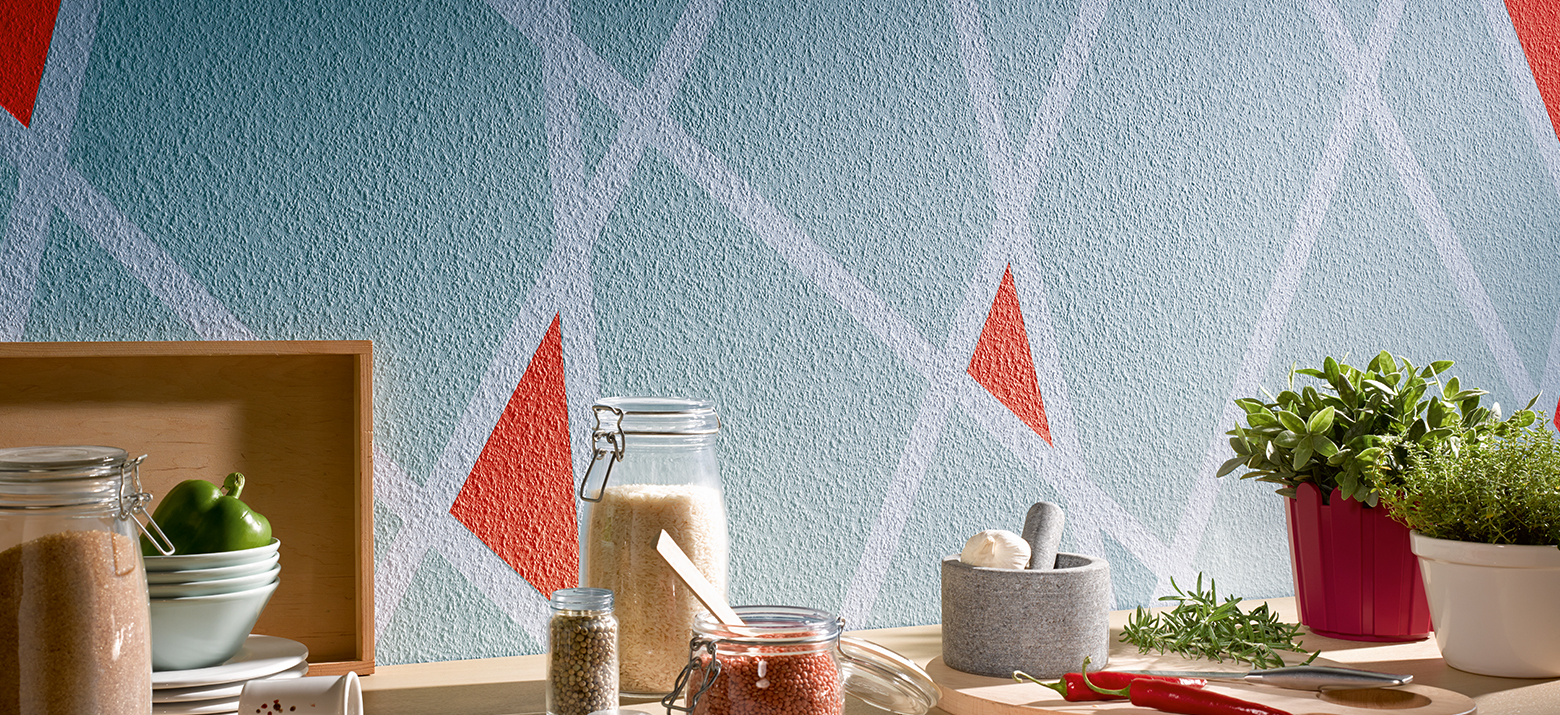
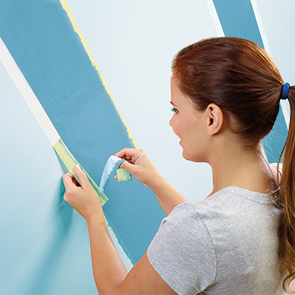
Design stripes or delimit areas using a taping technique
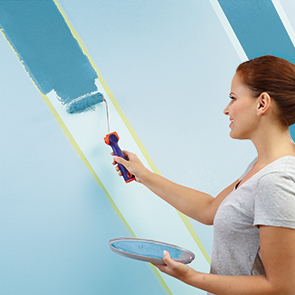
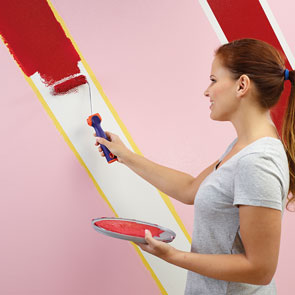
Stripes can change an entire room. Vertical strips can make a room look higher, horizontal strips look like a border, making a room appear broader with visually less height. The width of the stripes can also affect the overall effect. Wide stripes have a more calming effect than a lot of narrow stripes, although a mix of both can appear very vibrant.
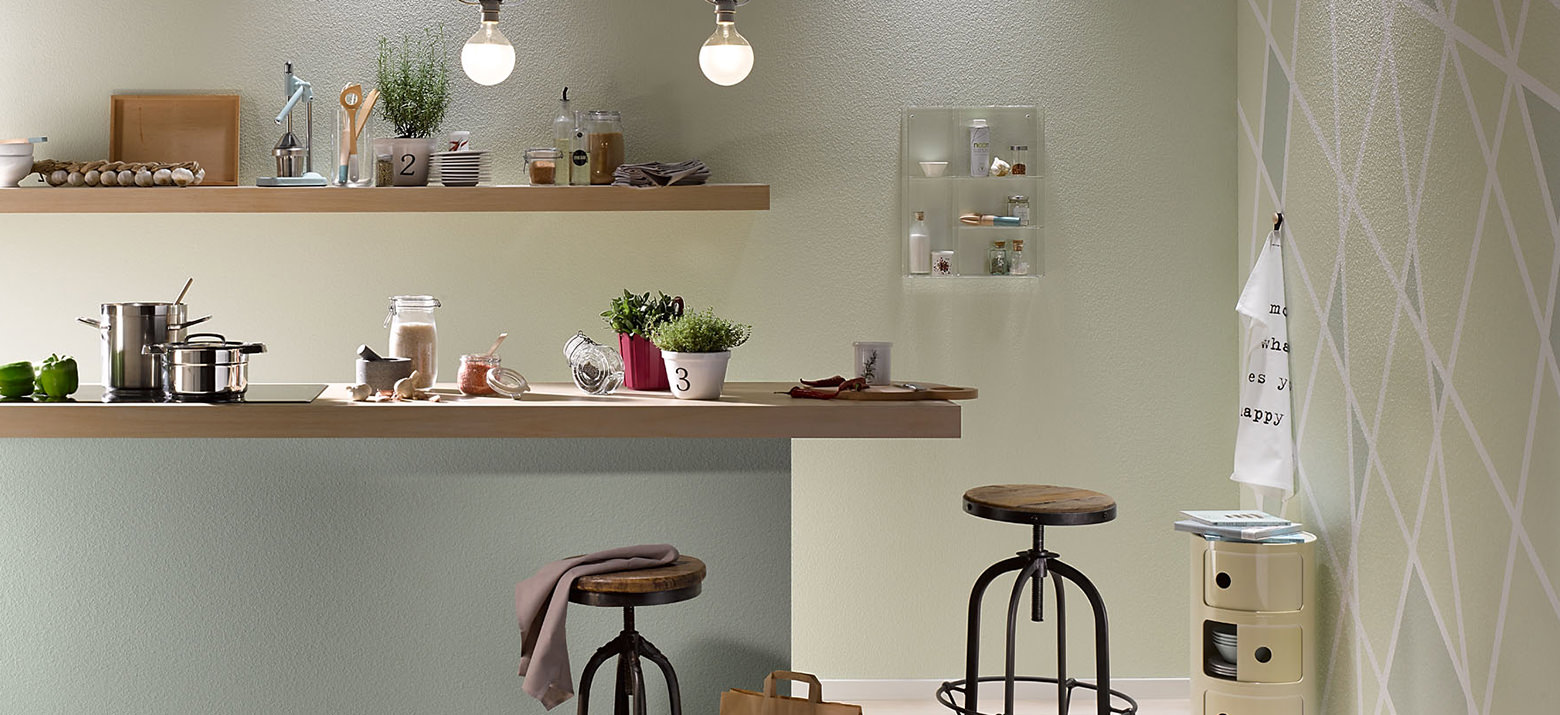
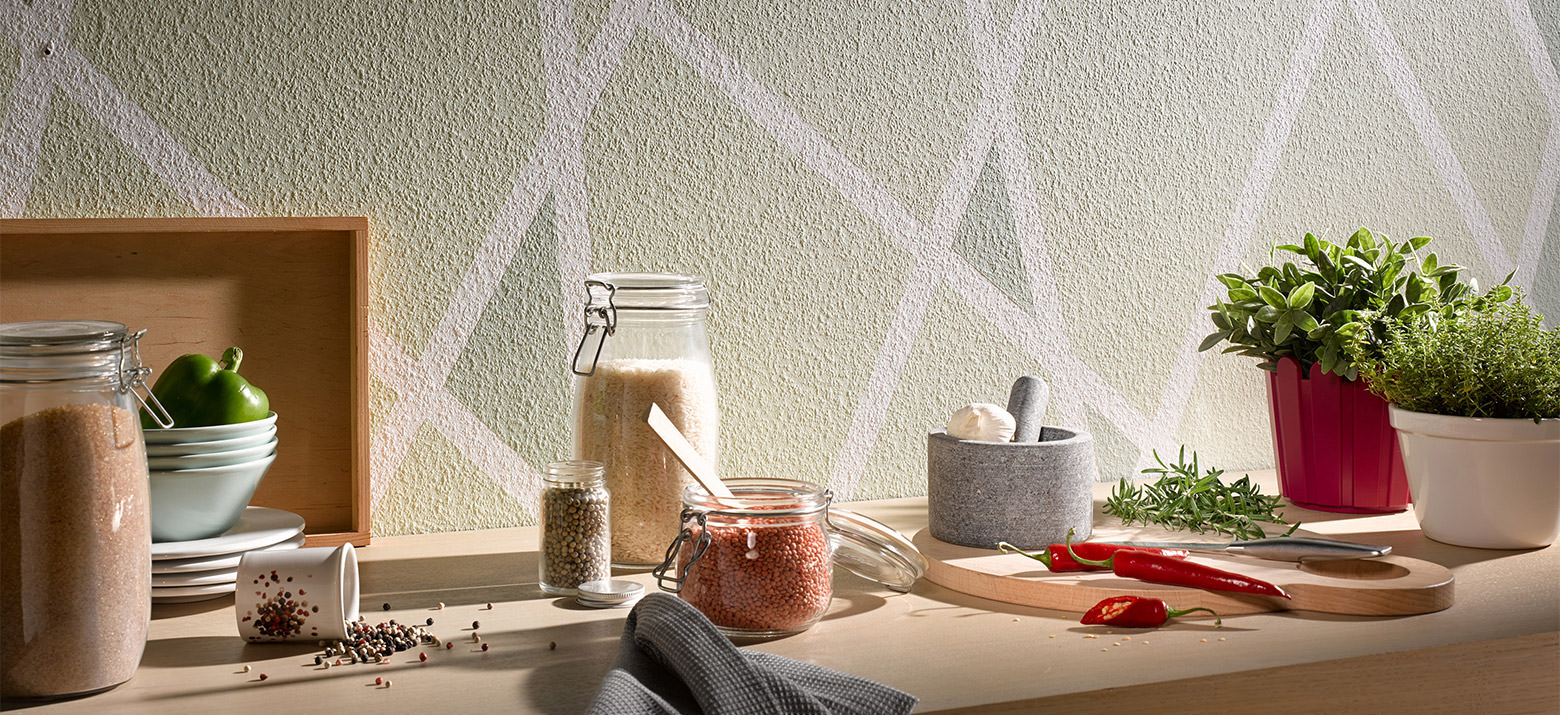
Our room shows how different colours and different widths of stripes can be used to create geometric patterns, creating a totally new sense of space.
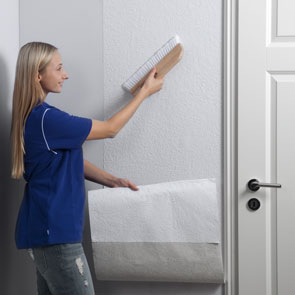
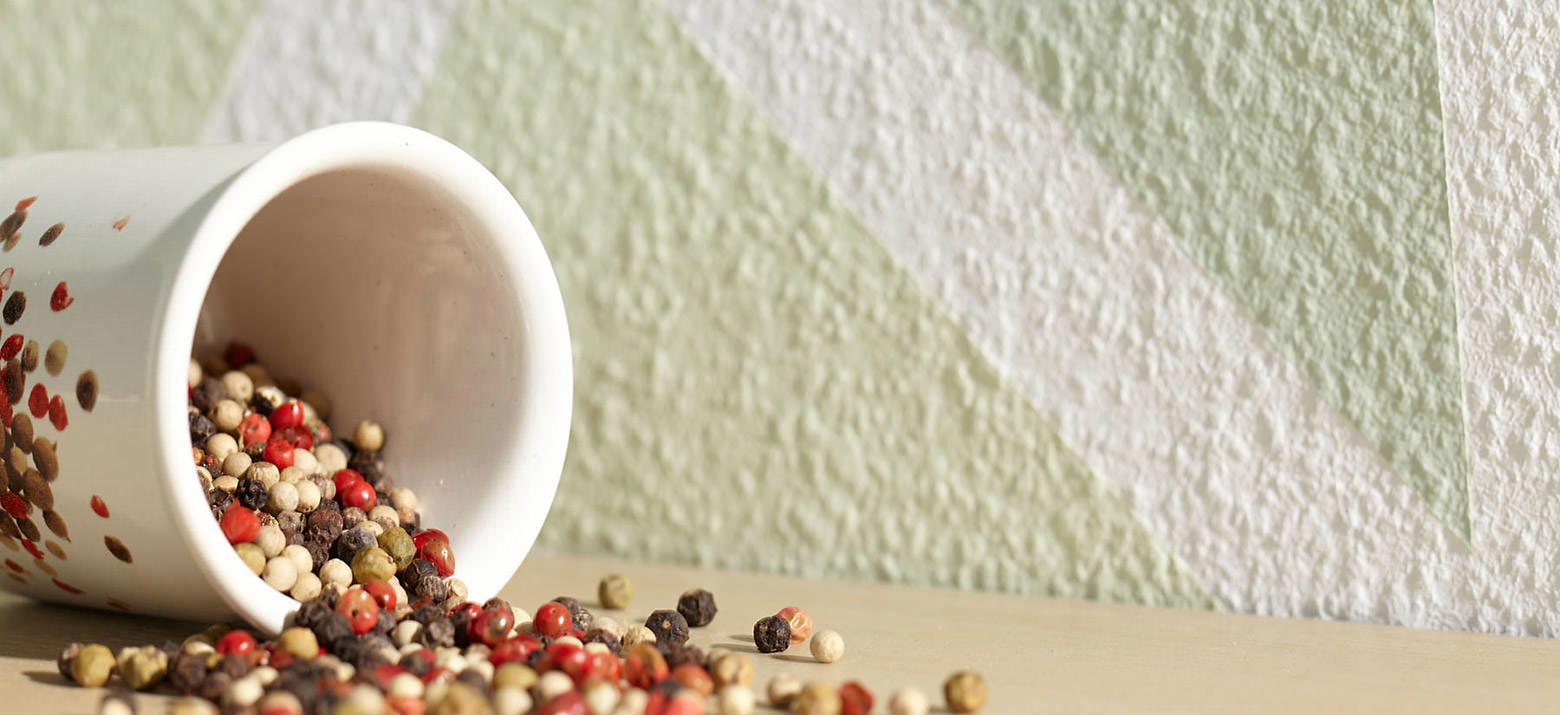
Prepare by apply a wallcovering a less heavily defined texture to the wall. The more heavily defined the texture, the more likely the paint is to run under the masking tape. This will make the stripes appear blurred. Paint the entire wall in a colour of your choice. Now you can start being creative.
We are customising Vlies-Rauhfaser Romantic in our example.