MicrosoftTeams-image__8_

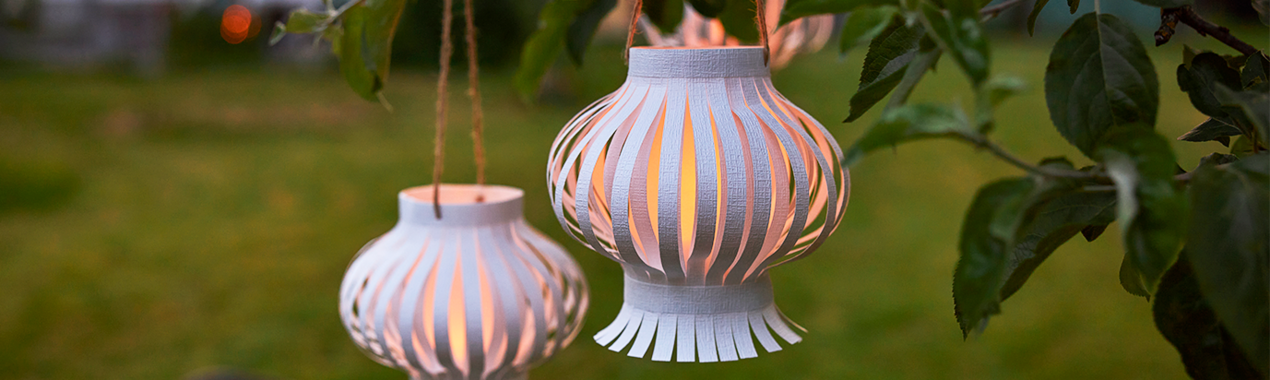
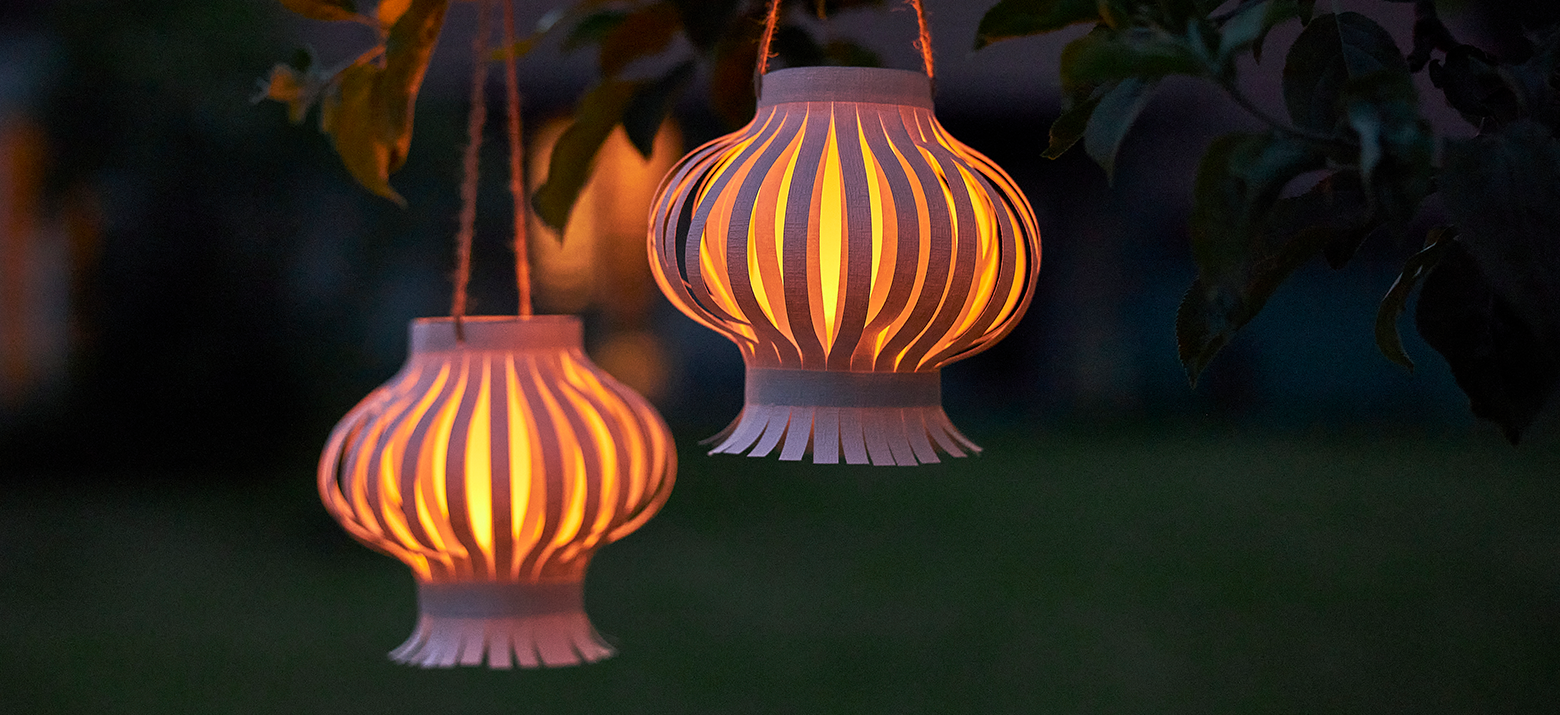
These lanterns are guaranteed to create atmospheric lighting – both inside and outside.

Step-by-step instructions

These wallpaper lanterns are guaranteed to create atmospheric lighting on balmy summer evenings in the garden, on the balcony or terrace. Create them in any size or colour you like. All photos by © Florian Bilger Fotodesign.

List of tools 

List of materials 

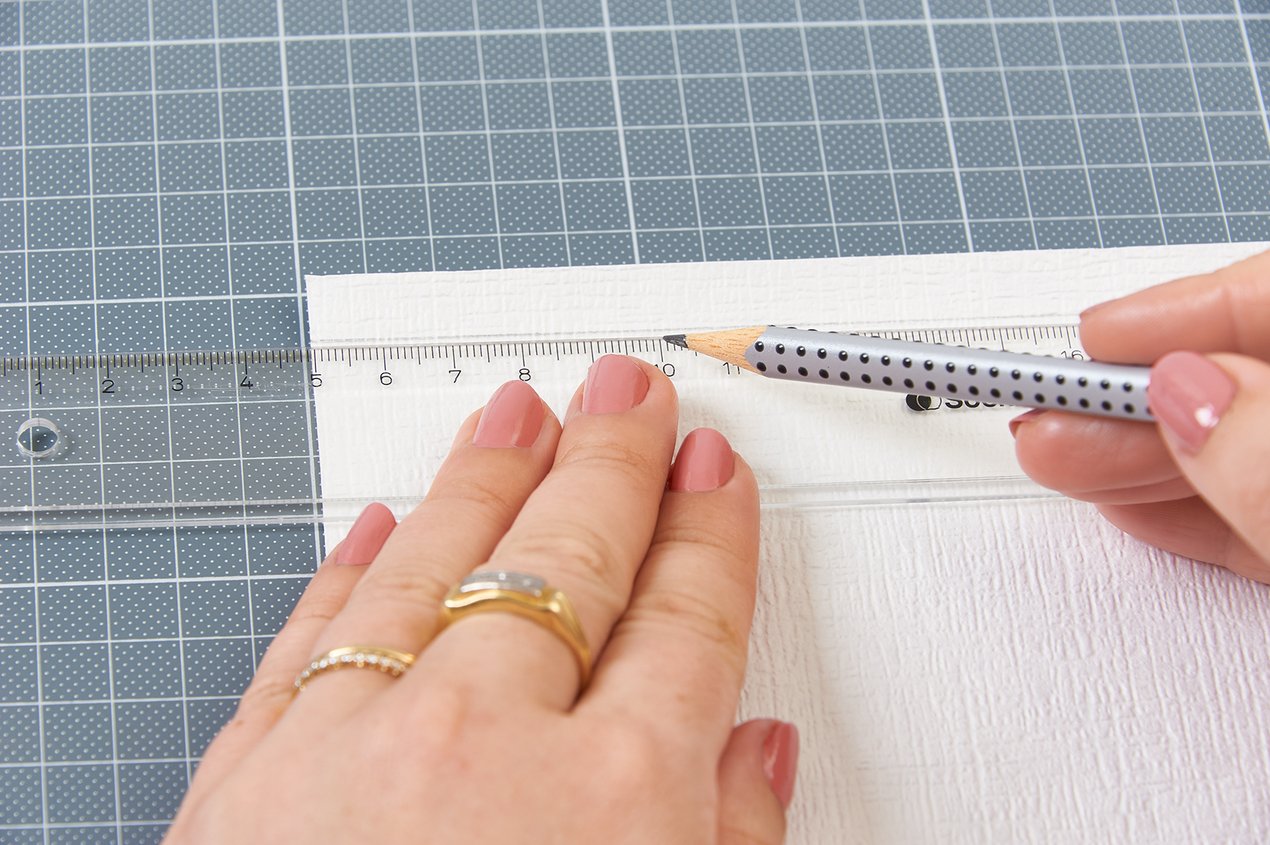
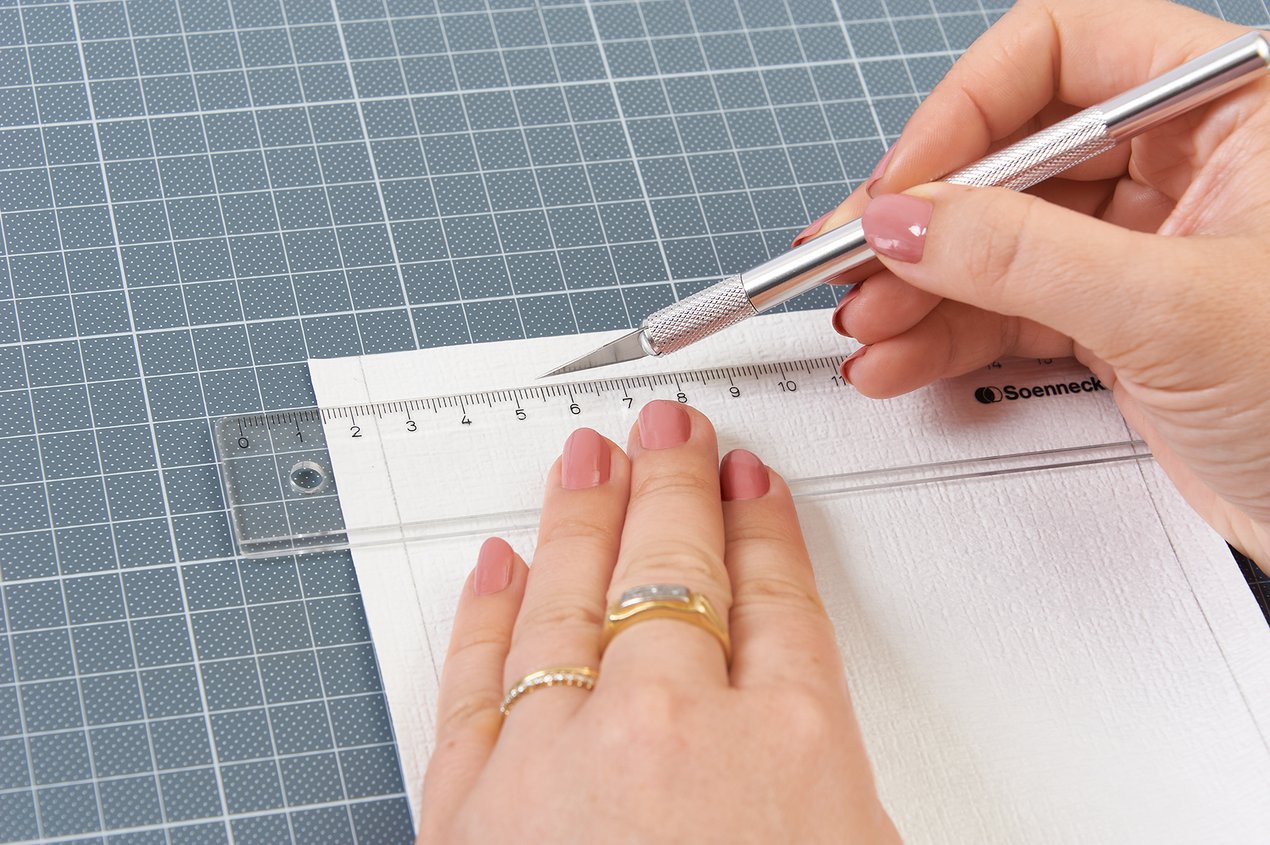
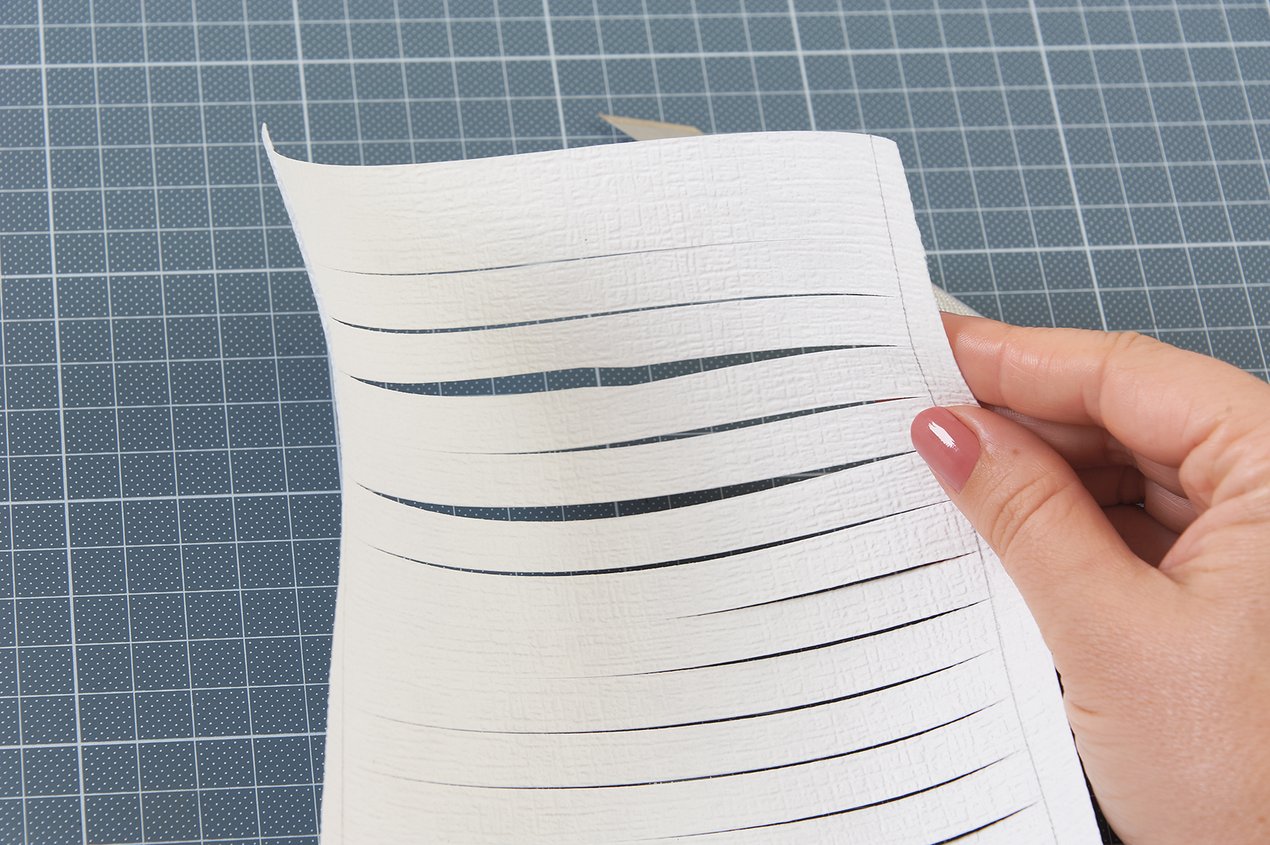
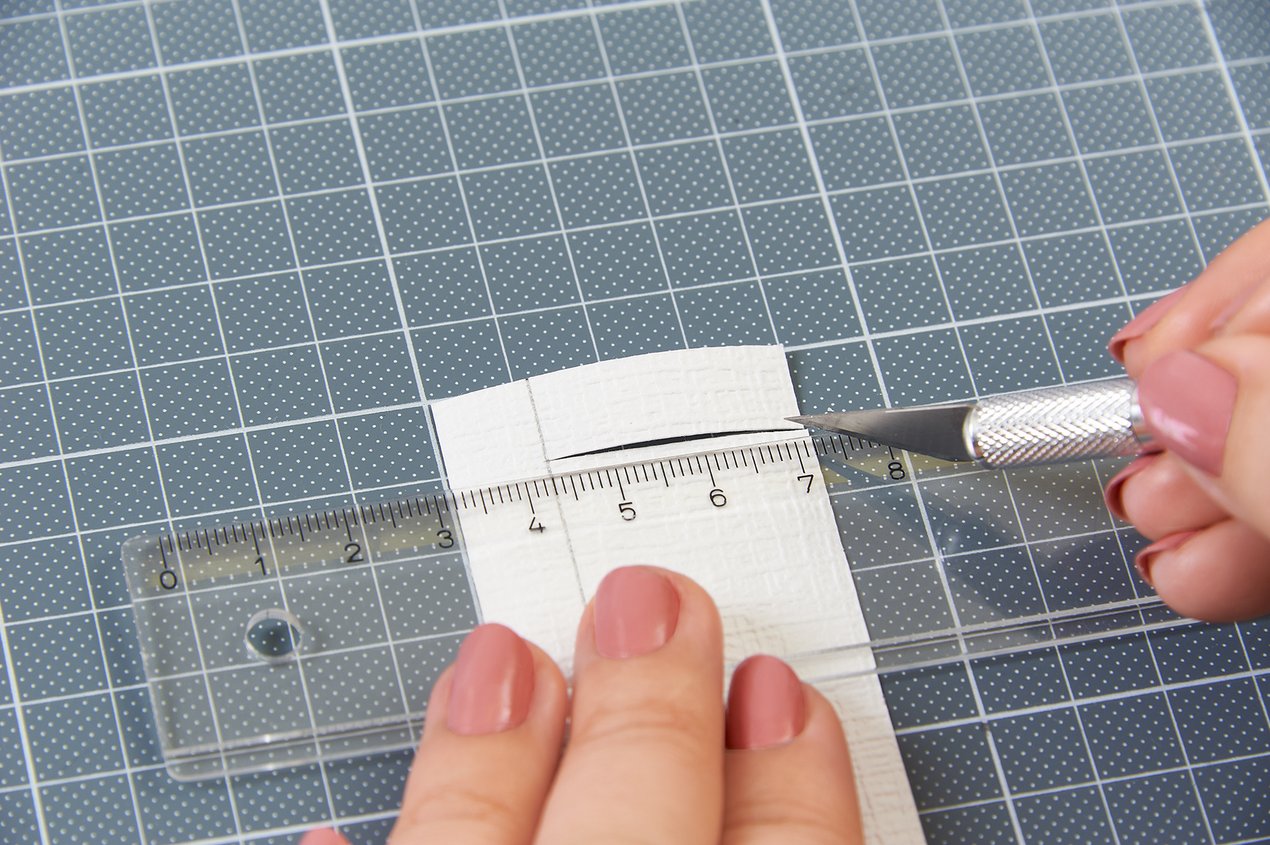
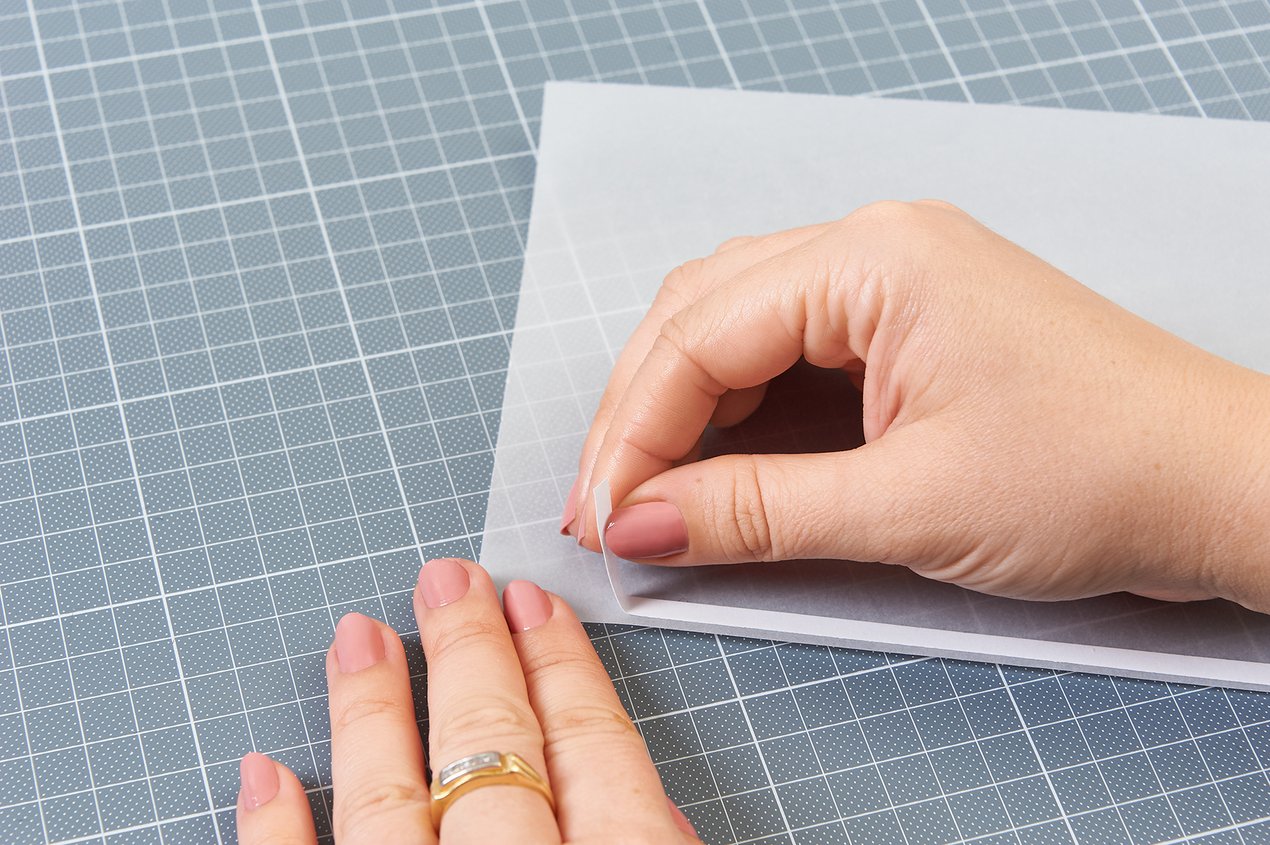
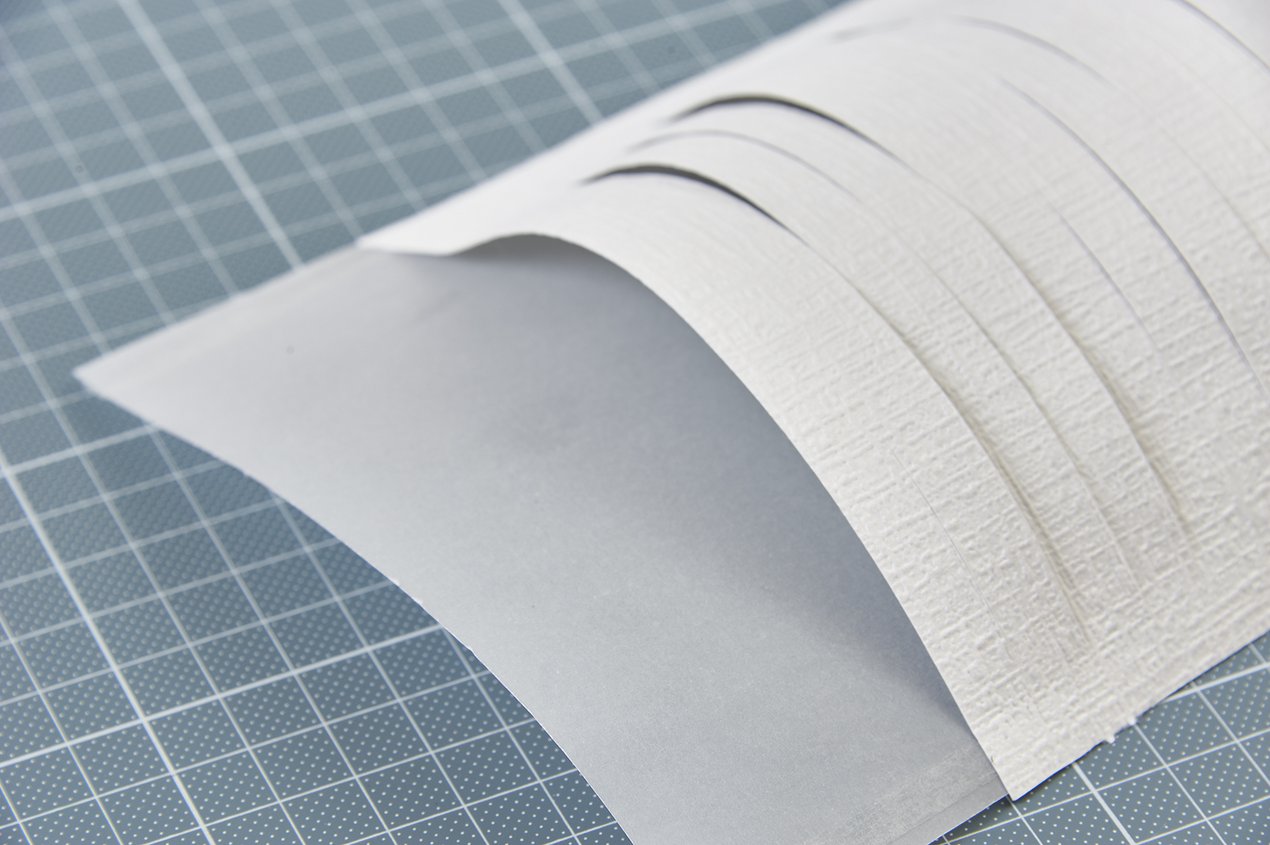
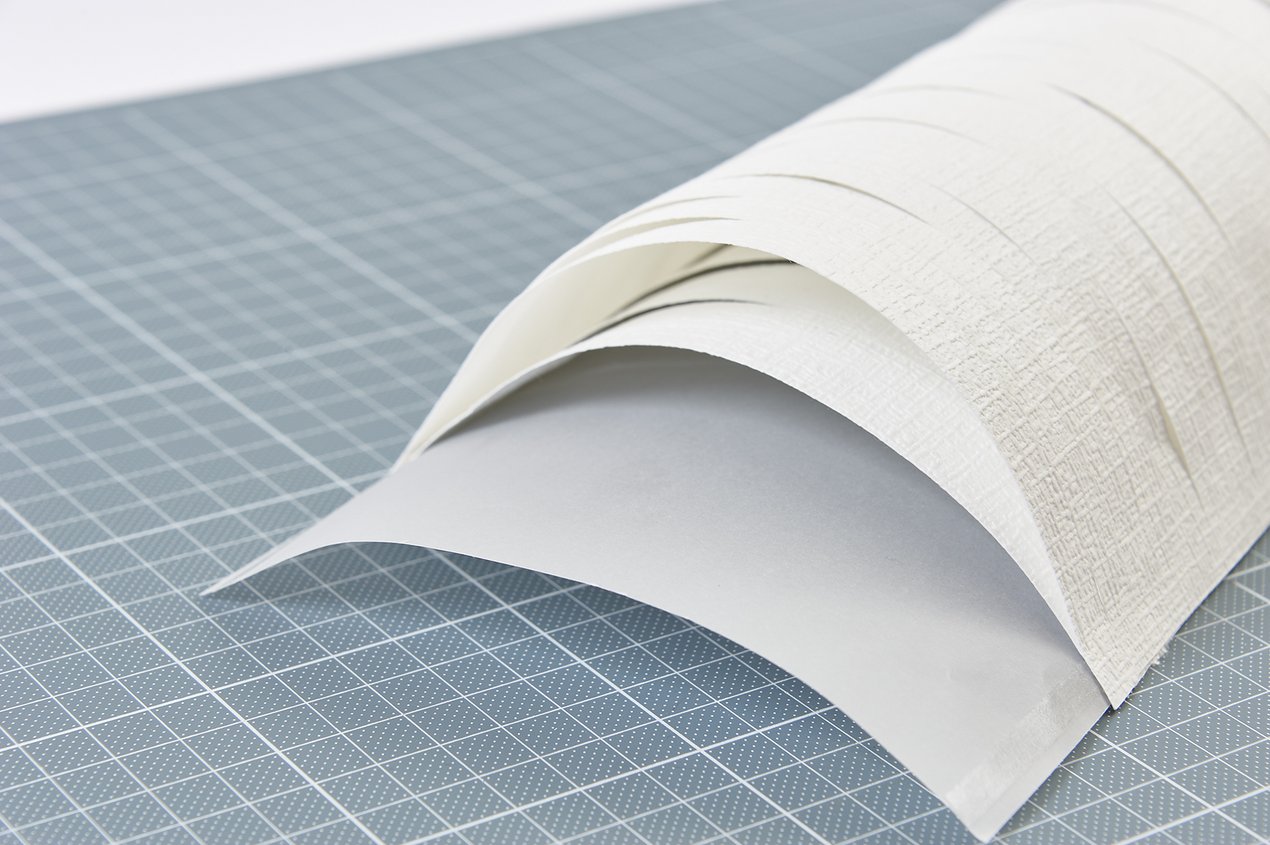
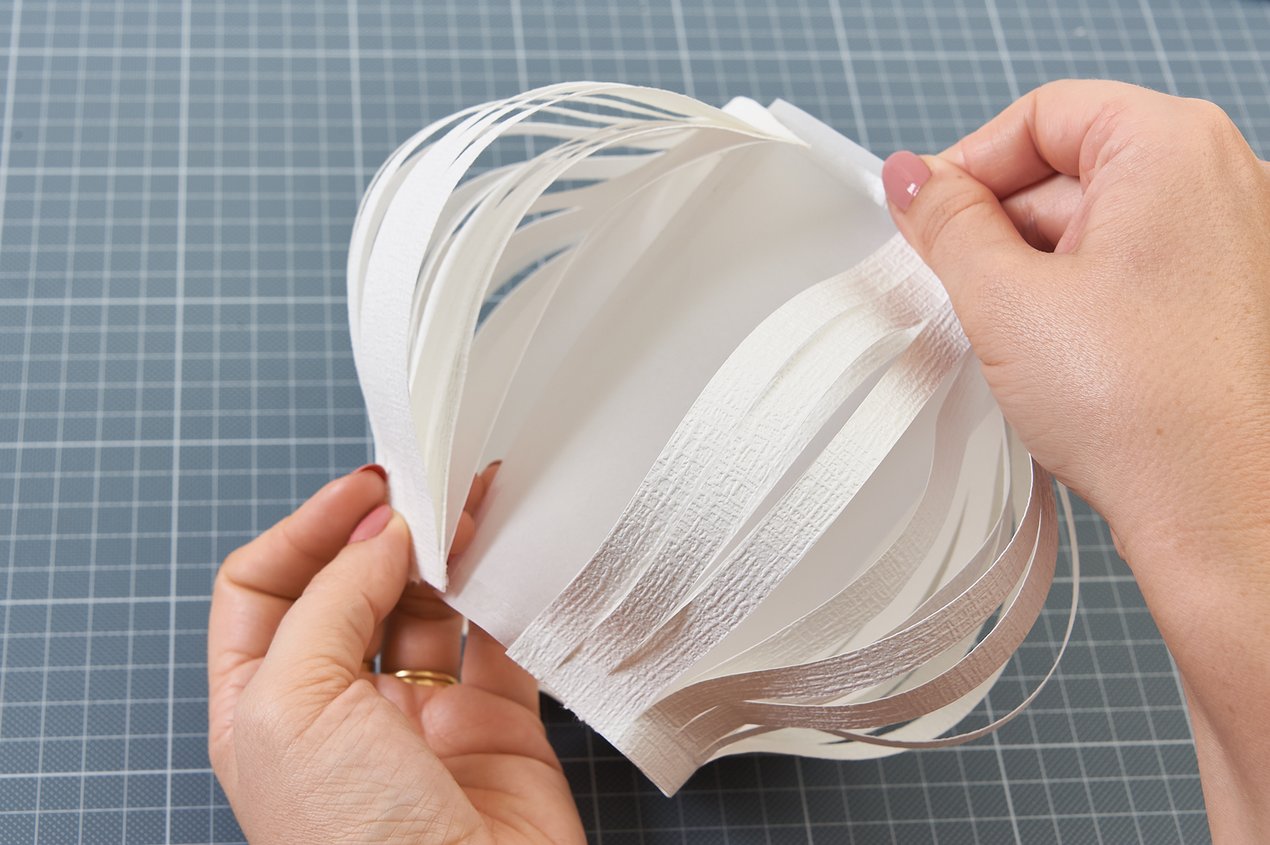
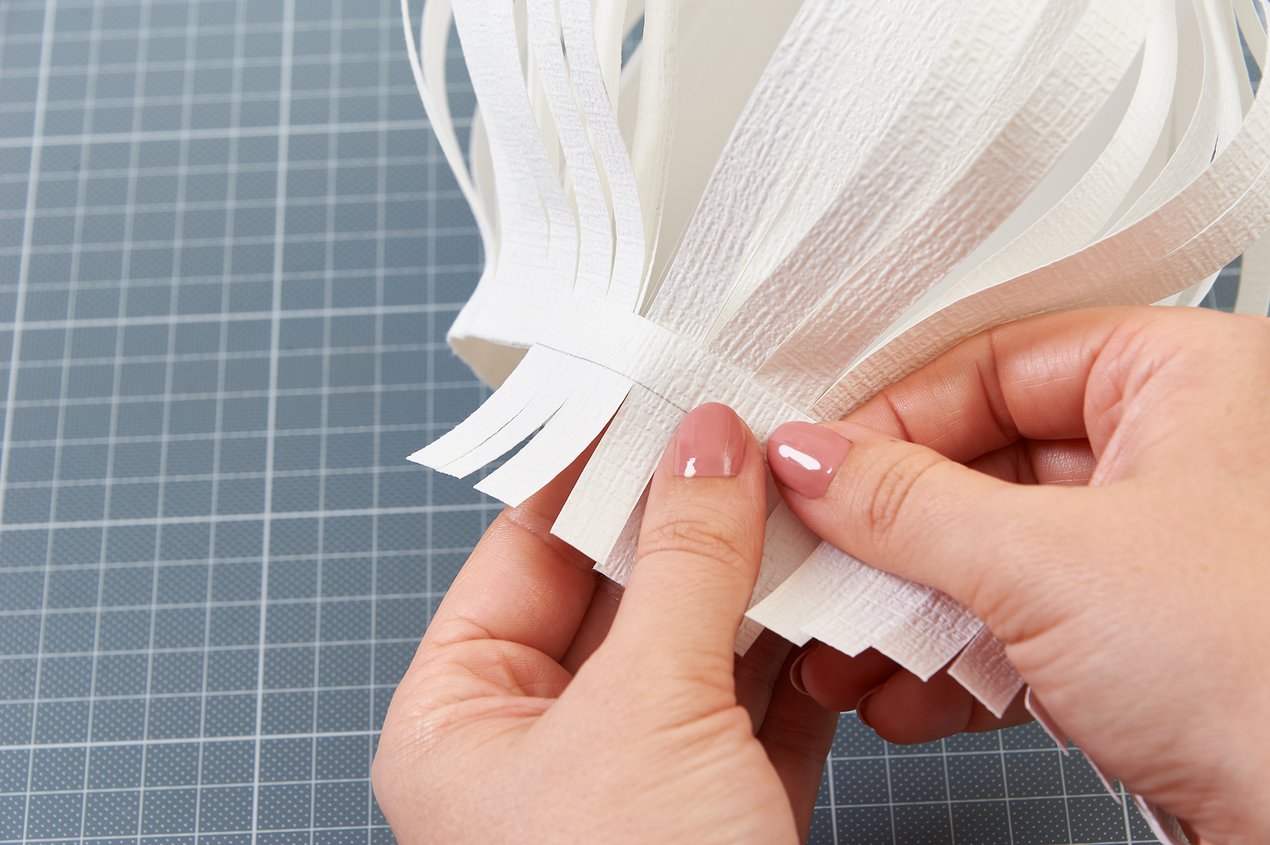
1. First, get the materials ready and cut the wallpaper and transparent paper. We recommend using the curve of the roll to cut the wallpaper sections. The long edges of the sections should preferably be the front edge of the wallpaper. Then bend the sections along the length. This will ensure that the stripes on the lanterns face in the right direction from the start.

2. Starting with sections A and B, place them on your cutting board so that they curve downwards (with the edges facing upwards). Draw marks on the back of the paper along both long edges, 1 cm below the cutting edge.

3. Using a Stanley knife and a ruler, make parallel cuts 1 cm apart extending from one mark to the other. 

4. Continue in the same way for the whole of sections A and B.

5. Now take section C. Again, draw a line along one of the long edges, 1 cm from the edge. Make sure that the section of wallpaper on your cutting board is curved upwards (with the edges facing downwards). Now make cuts at 1 cm intervals from the mark to the other edge.

6. Then apply strips of double-sided adhesive tape to the long edge of the transparent paper and carefully peel off the paper.

7. Attach both long edges of section A flush against one of the shorter edges of the transparent paper and press down firmly. This automatically creates a bulge as the section of wallpaper is wider than the transparent paper.

8. Now apply two more strips of adhesive tape to the long edges of the sections that have been adhered together and attach section B in the same way as section A before.

9. Apply clean adhesive tape to the projecting end of the transparent paper and roll up the transparent paper so that the sections of wallpaper meet on the outside. Then press down on the strips of adhesive tape.

10. Then take section C and apply an adhesive strip to the uncut side. Attach to one end of the lantern.

11. As a finishing touch, glue strips D to the upper edge and to where the fringe is attached as a decorative strip.

12. Punch two holes in the top to hang the lantern.

13. Then pull a cord through the holes from the outside inwards and knot it on the inside.

List of tools for this creative technique

  • Ruler
  • Pencil
  • Cutting pad
  • Stanley knife

List of materials

  • Erfurt wallpaper of your choice cut to the following sizes:
    • A: 25 x 15.5 cm
    • B: 25 x 18 cm
    • C: 25 x 4 cm
    • D: 26 x 1.5 cm (2x)
  • Transparent paper measuring 28 x 14 cm
  • Double-sided adhesive, clear
  • LED tea light
  • Cord

Handy hint: There are many ways to light up the lanterns. We used small LED tea lights fastened to the inside with a thin thread. Of course the lanterns can also be attached to a string of outdoor lights. There are no limits to what you can do and a host of different LED lights can be used.