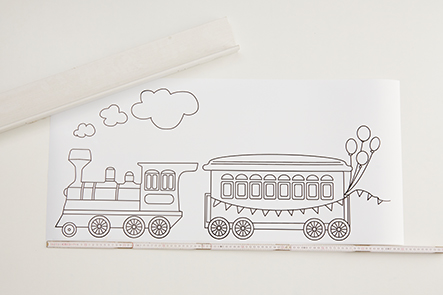
Train shelf for the nursery
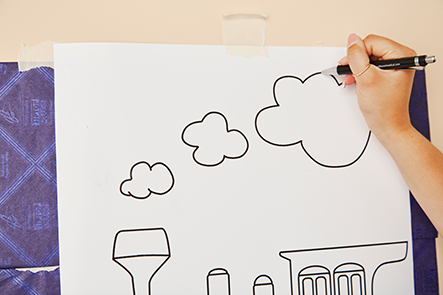
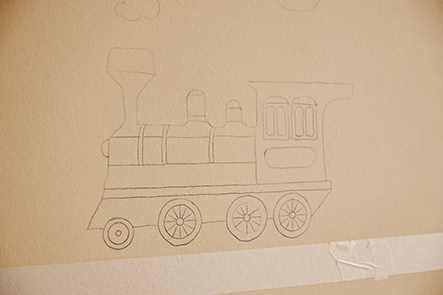
Step-by-step instructions
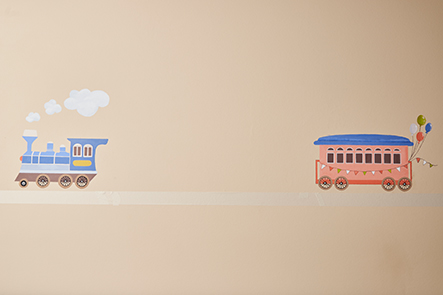
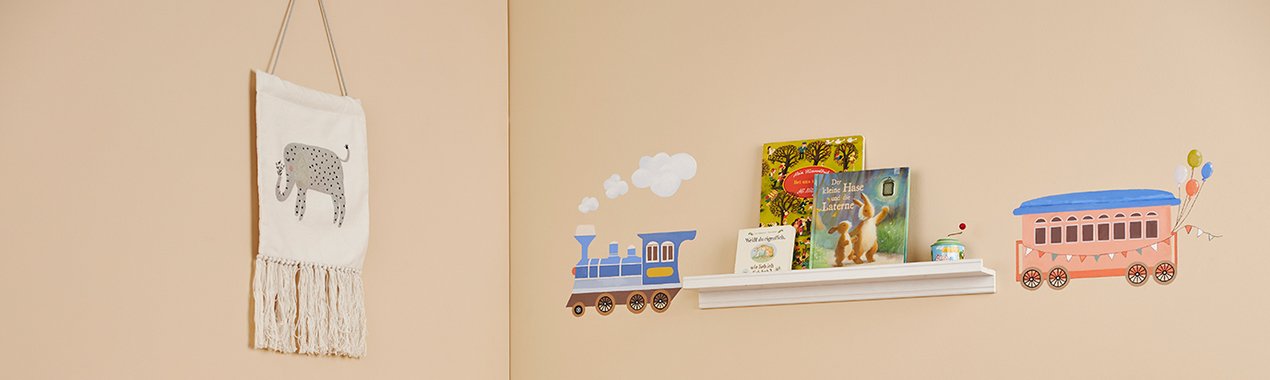
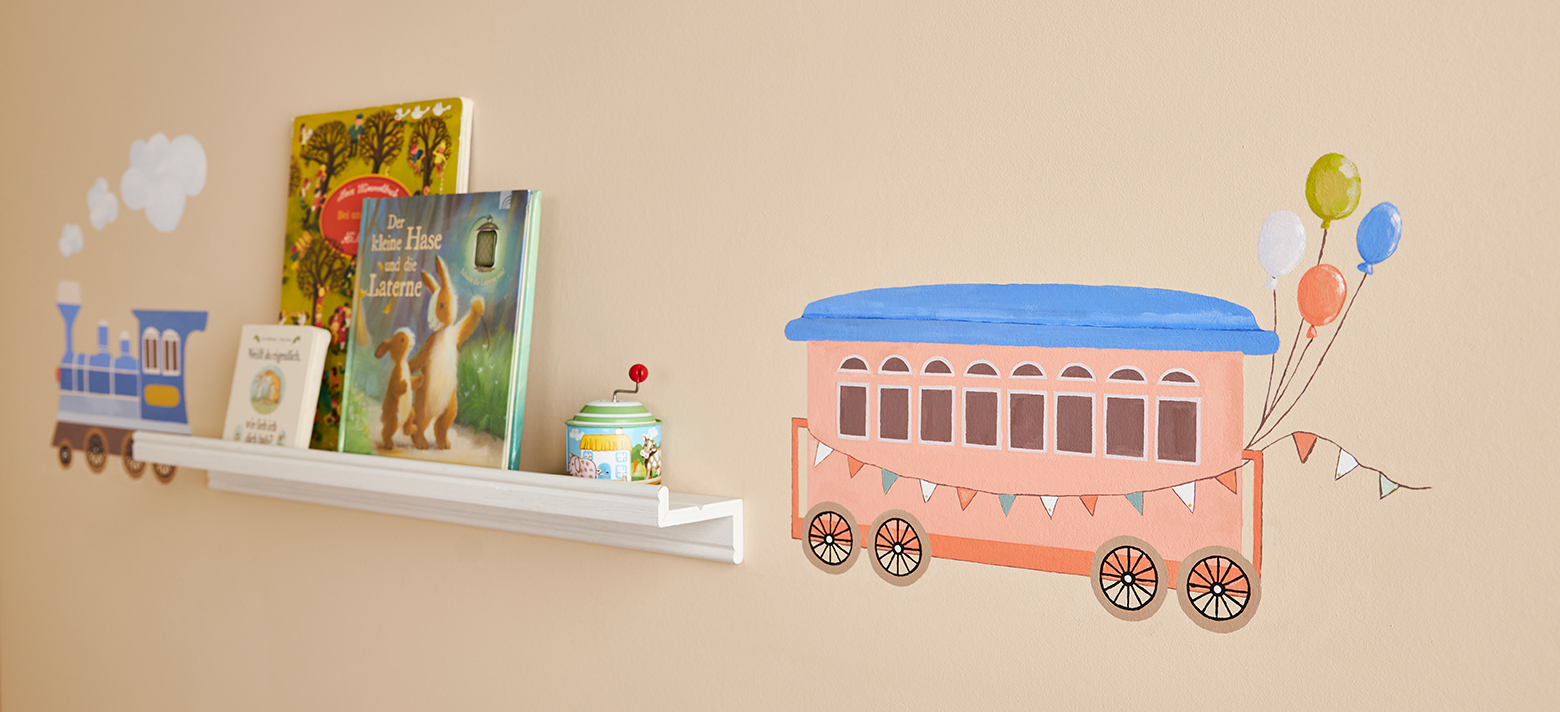
Are you keen to do something special in your child’s nursery? Then this train shelf is just the ticket!
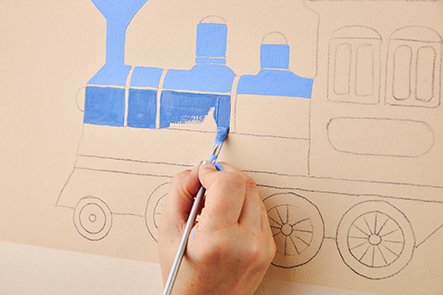
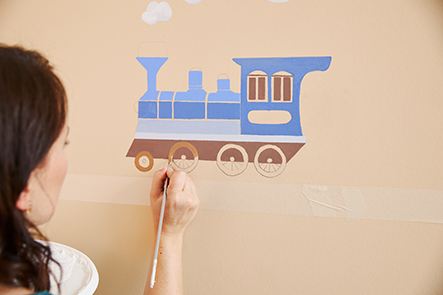
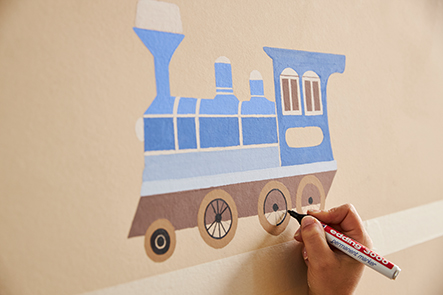
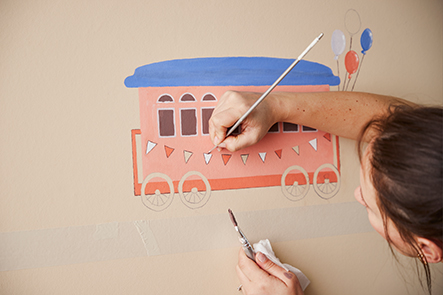
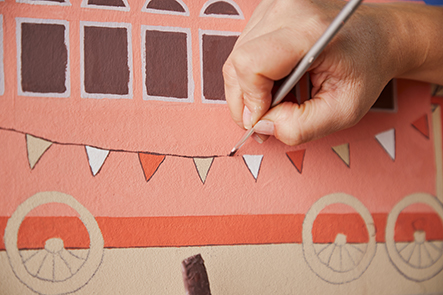
Painting walls yourself is great for adults and children to admire but can also turn into a veritable mammoth project. A small project, like this train, is a perfect first step. Use our template, which you can transfer directly to the wall, then you just need to paint in between the lines and, in no time, the train will be carrying books, toys and plushies from A to B.