Step 1 – Preparation
- Ask someone to help you
- Preferably clear the room entirely so that nothing gets in the way of your ladder
- Remove any ceiling lamps.
Important! Turn off the power!
- Cover the floor to protect it if the floor is already laid
Handy hint: Use a non-slip fleece dust sheet so that your ladder does not take on a life of its own
- Fully remove old wallcoverings
- Get your materials ready
- Check the base surface – it needs to be dry, clean, flat, solid and absorbent
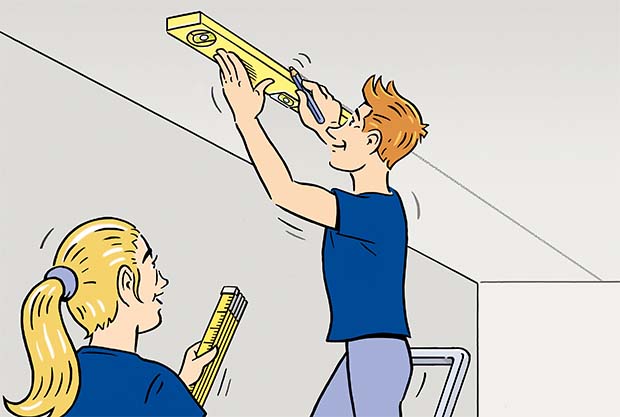
Step 2 – Mark on the first length
- Take the width of the wallcovering minus 2 - 3 cm. Use a yardstick to mark this measurement with a point at several places lengthwise on the ceiling. Use a spirit level to connect the points in a continuous line
- You can also do this with a “chalk line”. Simply mark two points at the start and end of the ceiling, tap in small nails and fix the “chalk line” to them. Pull it down a little in the middle and release it. The chalk residue on the line will now leave a straight line across the entire length of the ceiling
Handy hint: Always wallpaper away from the window. This will prevent shadows from forming later
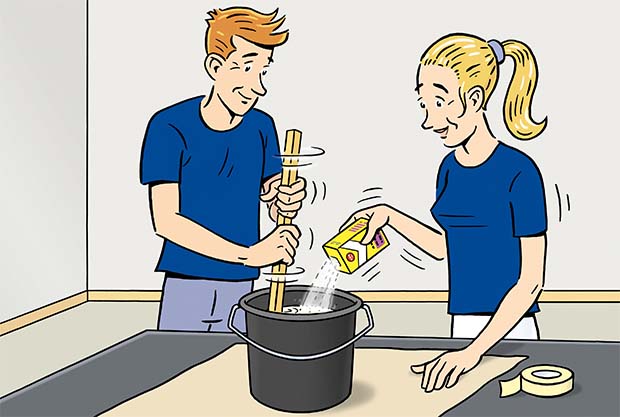
Step 3 – Mix up the paste
- Mix the paste recommended for nonwoven wallcoverings according to the manufacturer’s instructions
- Allow it to rest, as the paste needs to soak a little
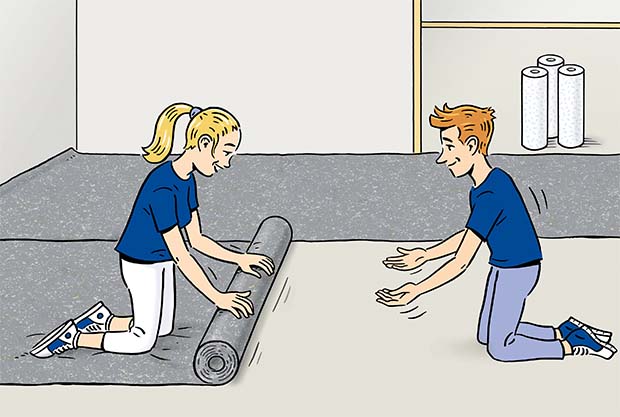
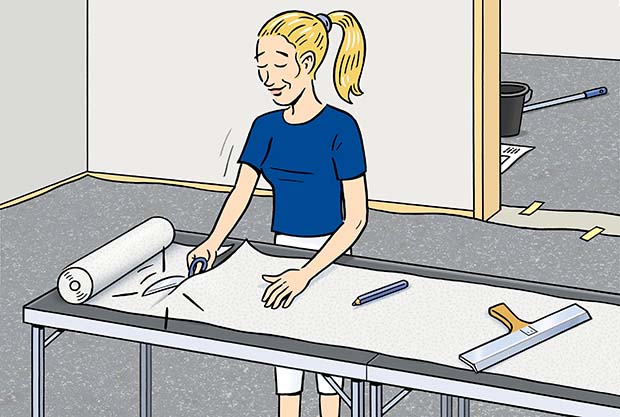
Step 4 – Cut the lengths of wallcovering
- Measure the length of the ceiling and cut the lengths allowing for an extra margin of approx. 10 cm. You can also measure this on the floor, after all, the dimensions are identical
Handy hint: Roll up the length of wallcovering “back to front” (with the back facing outwards) as it can then be simply rolled onto the ceiling
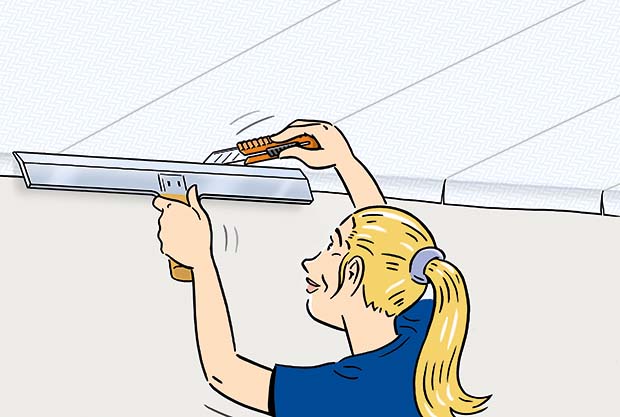
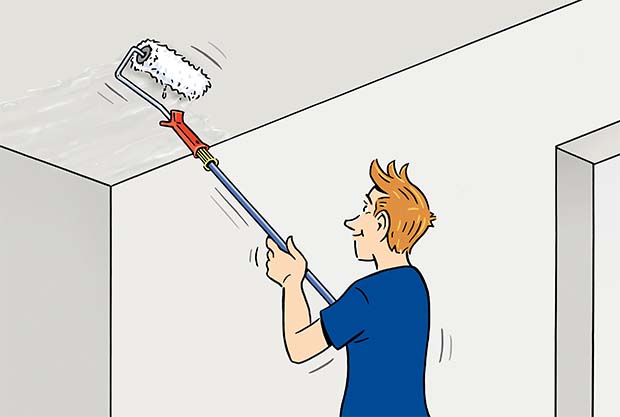
Step 5 – Apply paste to the ceiling
- Now it’s time for the paste. Use a short-pile roller to apply paste to the ceiling. Use a radiator brush to apply paste around the edges
- Only apply enough paste for 3 lengths, as otherwise the paste will dry before you have put up the nonwoven wallcovering
Handy hint: Attach the short-pile roller to a broom handle to extend the length, so you can paste the ceiling without the need for a ladder
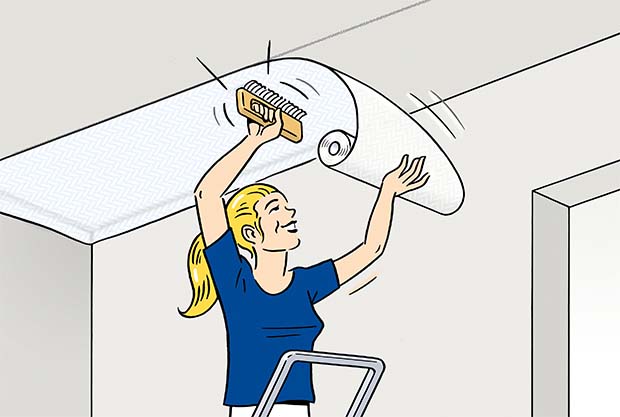
Step 6 – Position the first length
- Position the dry nonwoven wallcovering onto the pasted ceiling
- This is where the marked line comes into play – position the wallcovering along it to achieve a straight length
- Allow both short ends of the nonwoven wallpaper to overlap a few centimetres
- There will automatically be an excess width along the long edge as the first length has been drawn 2 - 3 centimetres narrower
- Now slowly unroll the rolled-up length along the line on the ceiling
- Once a section of wallcovering is positioned properly, use a wallpapering brush to apply light pressure to smooth the length out from the centre to the sides. This will allow any excess air to escape, the paste will be spread evenly and the wallcovering will lie crease-free on the ceiling
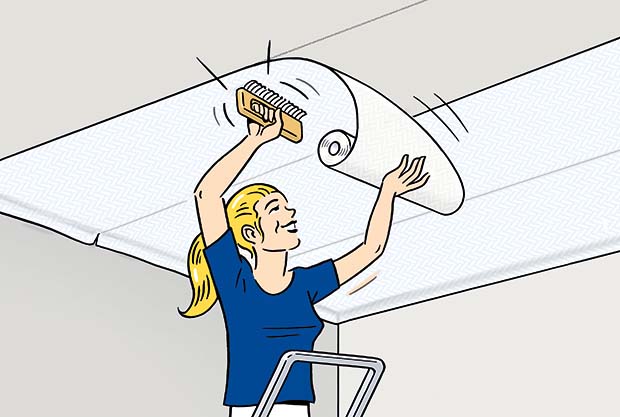
Step 7 – Apply additional lengths
- Make sure that the lengths of wallcovering are edge to edge with one another. This means that the lengths lie directly against one another but do not overlap
- Once again here, allow for excess length at the corners
- Always unroll the lengths slowly along the long side and gradually smooth out with the wallpapering brush. If necessary, use a seam roller to press down the seams
Handy hint: Use a foam seam roller with textured wallcoverings to ensure that the texture does not become flattened
Step 8 – Cut off excess lengths
- Use a wallpapering palette knife to press the nonwoven wallcovering firmly into the corner and use a Stanley knife to cut off the excess. Alternatively, use a pencil or scissors to mark the corner, pull off a little and cut off the excess
- If there is a ceiling lamp fitted, simply paper over it and then use a Stanley knife to make star-shaped cuts in this area. Pull out the cable
Important note! Be sure to switch off power in advance by turning off the relevant switch in the fuse box! We recommend testing with a multimeter as well
- You’re finished! Now take a break. You can paint the wall once you have let it dry for approx. 6 to 24 hours
Handy hint: Avoid draughts and excessive heat when drying the wallcovering