Erfurt_Buchbindung_11054

Notebook with Japanese binding

Step-by-step instruction

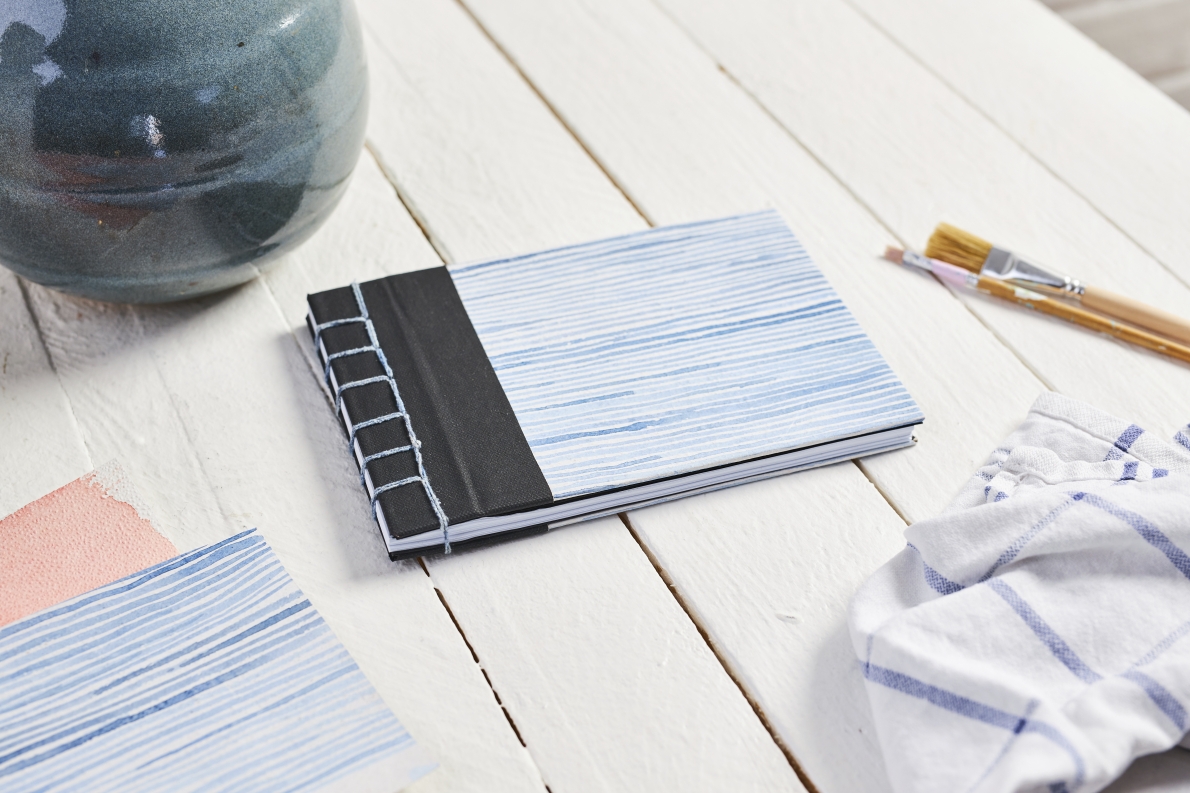
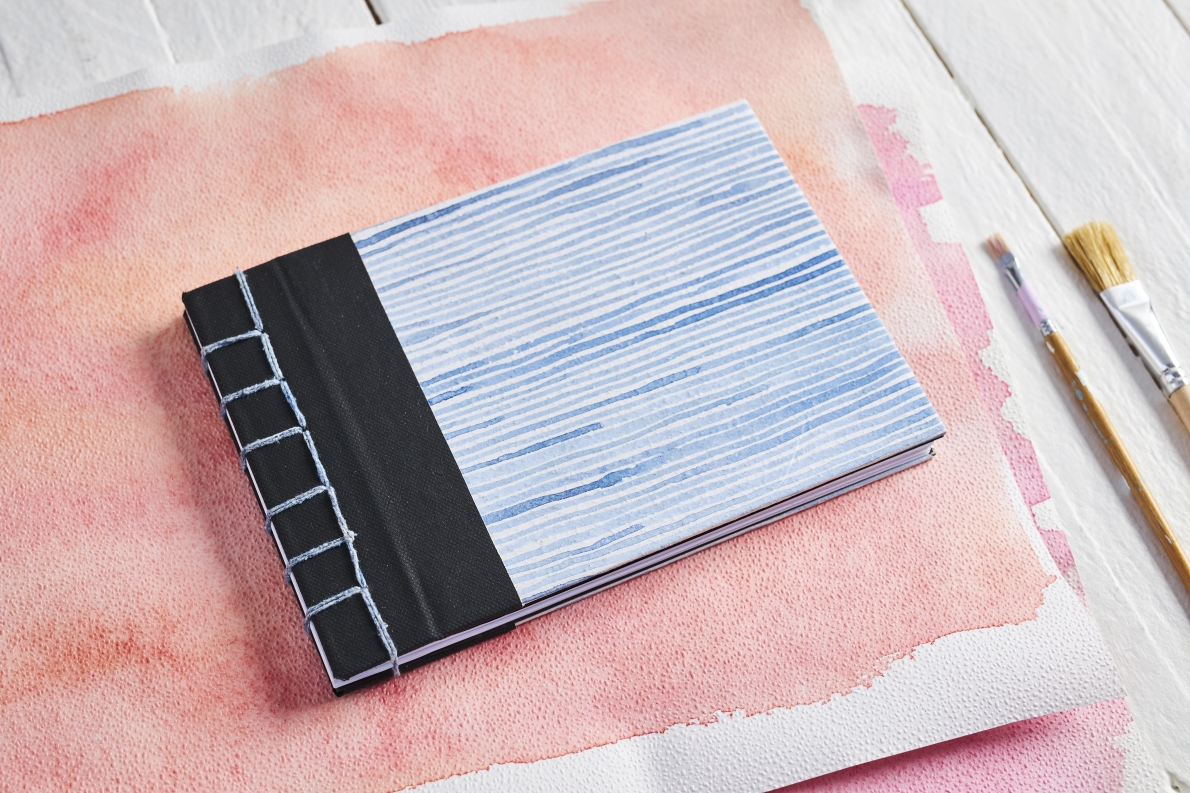
Whether you opt to use it as an unusual notebook, a diary or for your own poems: simply bind your book yourself to create something really special. Or perhaps you need small souvenir? A home-made book is a memorable and precious personal gift.

Page after page of art. Simple to make using wallpaper. Anyone would be pleased to use this hand-made work of art day after day.

HANDY HINT: If you want to make things a little easier, you can also bind ready-made notebooks, writing pads, school books, calendars or journals with interesting paper, saving yourself the work of cutting and drilling the sheets.


List of tools

List of materials

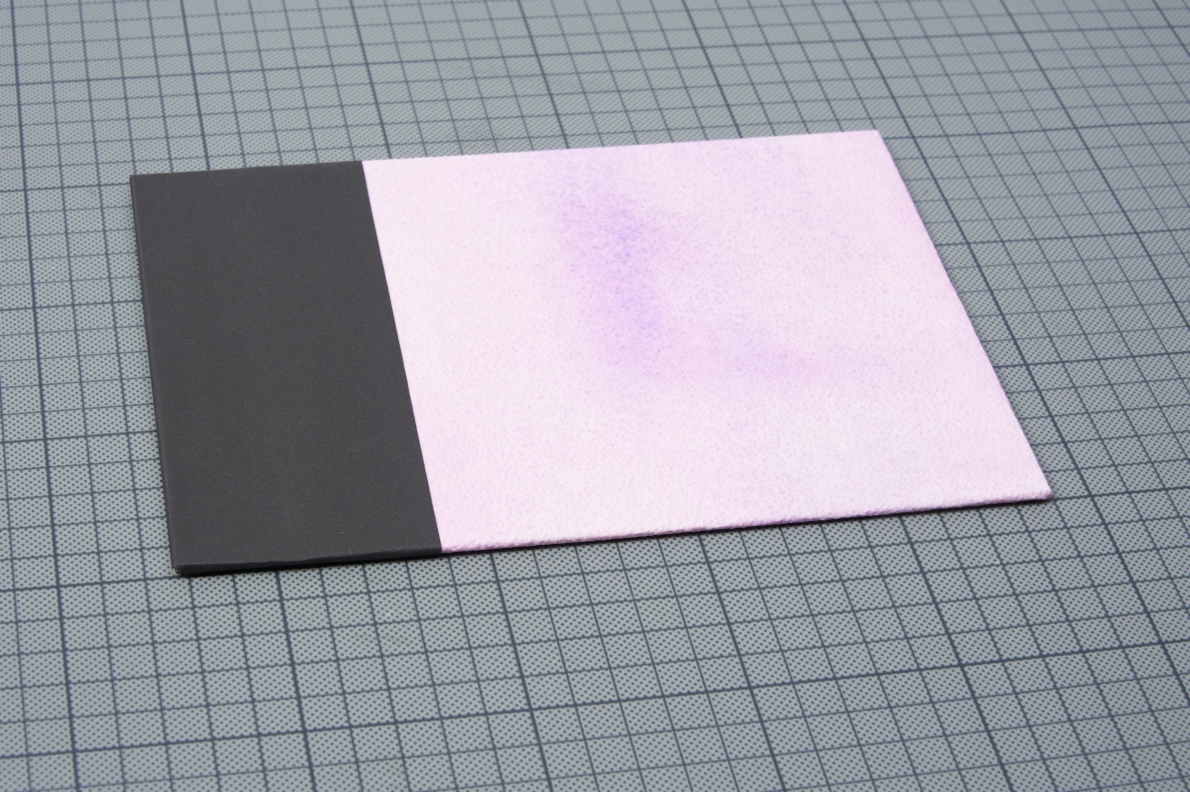
1. First, create the wallpaper according to your mood and taste. Mix indigo blue with a little black and plenty of water to achieve this striped pattern. We recommend testing it on a sample piece of paper to see whether you like the colour. Then use a narrow brush to draw fine lines by hand. Allow the paper to dry.

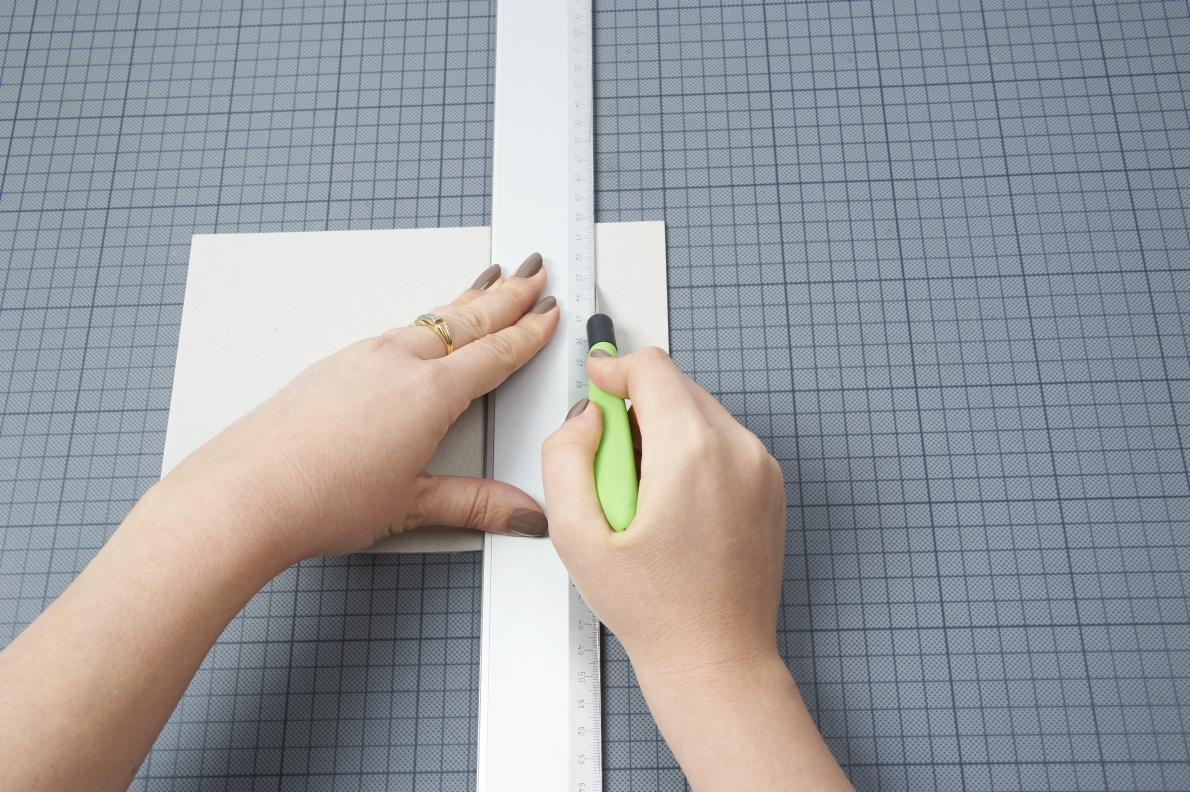
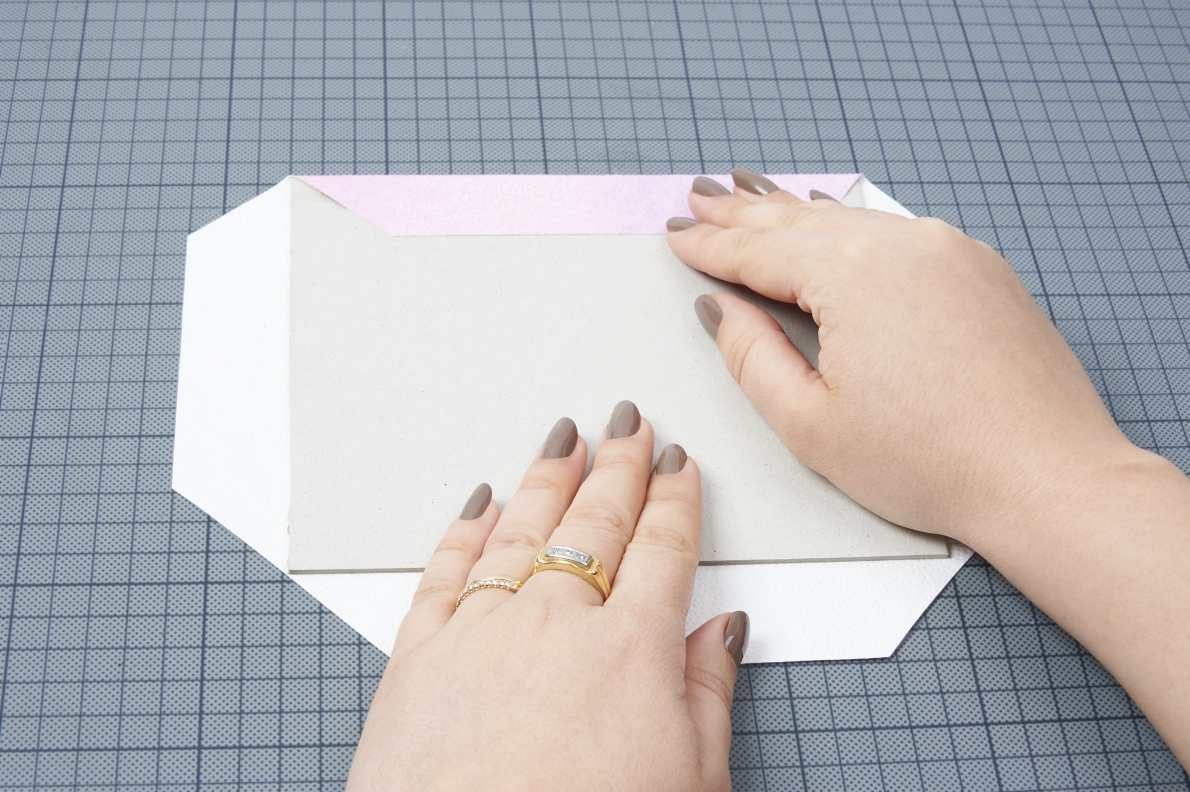
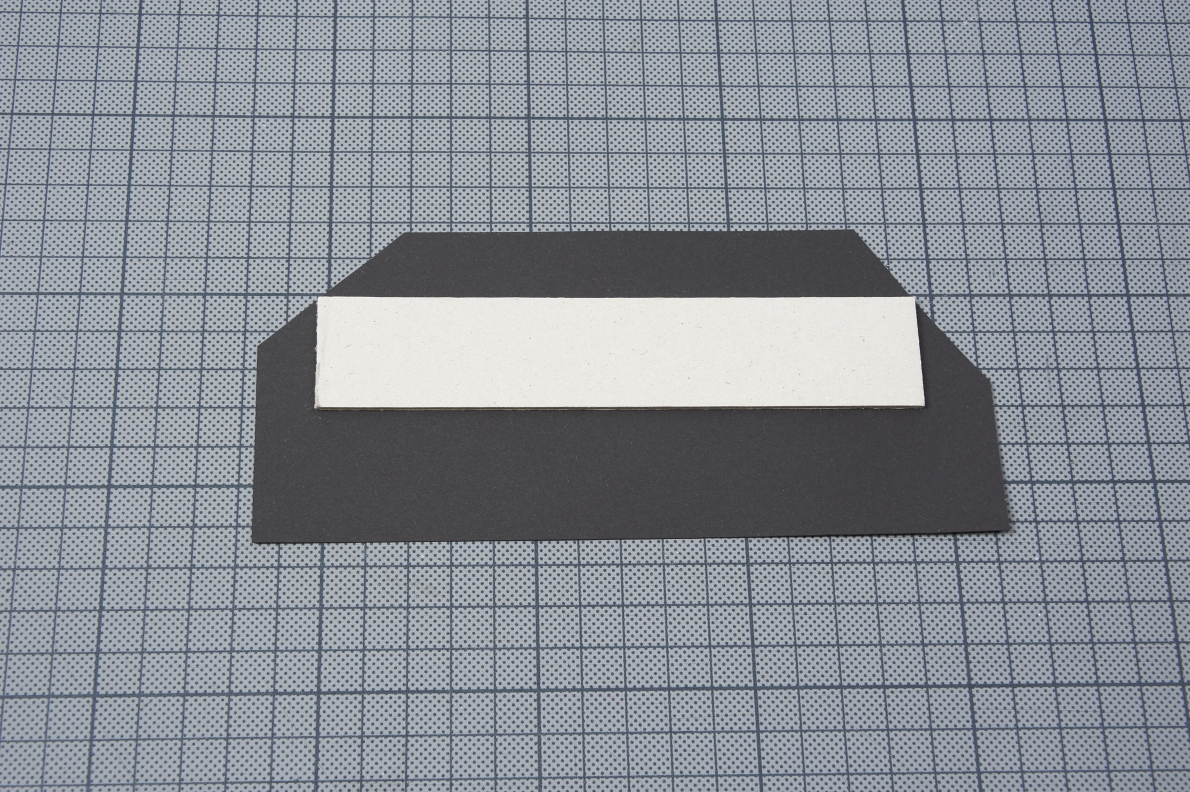
2. Now it’s time to cut the paper and cardboard. Cleanly cut 3 cm from the short edge of the cardboard. Place one of the large pieces of cardboard on the wallpaper and cut two pieces with a 3 cm margin along each edge (you will end up with two pieces measuring approx. 24 x 21 cm). You will need 2 pieces of sugar paper, measuring 8 x 17 cm and 42 x 14 cm.

3. Place the first piece of wallpaper on the work surface with the painted side facing down, position the large piece of cardboard centrally and glue it. Cut off the corners and stick down all the edges. Do the same with the second large piece of cardboard and the second piece of painted wallpaper.

4. Place the small piece of sugar paper on the work surface, and position the small piece of cardboard leaving 2 cm along one long side and around 3 cm along the other side. Cut off the corners of the short protruding edge and glue down this edge.

5. Then place the piece of cardboard wrapped in wallpaper on the 3 cm protruding surface of the sugar paper and glue down the protruding edges of the sugar paper. Leave 1 – 2 mm space between the two pieces of cardboard. to make sure that you can open and close the book with ease later.

6. Then fold the large piece of sugar paper in half lengthwise and glue it to the cover of the book so that the fold is on the black-bound side of the book cover. Produce both covers in the same way.

7. Then use a pencil to draw in the holes. Position the holes 2 cm from the outer edge and draw them in with the following spacings from left to right: 2.5 cm, 4.5 cm, 6.5 cm, 8.5 cm, 10.5 cm, 12.5 cm.

8. Now place the stack of white paper between the two book covers. Make sure that the book covers lie on top of each other. Clamp everything in the screw clamps and drill as straight as possible using the hand drill. It is best to drill backwards first to avoid fraying the holes too much.

9. Finally, use an embroidery needle to bind the book as shown on the photo.


List of tools 

  • Cutting mat
  • Stanley knife
  • Ruler
  • Pencil
  • Hand drill
  • Screw clamps
  • Embroidery needle
  • Paintbrush
  • Paint tray

List of materials 

  • ERFURT-Vlies-Rauhfaser Viva or another fine texture
  • White paper, A5, approx. 100 sheets
  • Cardboard, approx. 2 mm thick, A5, 2 pieces
  • Black sugar paper
  • Yarn or cord in a matching colour
  • Craft glue
  • Watercolour paint