Step-by-step instruction
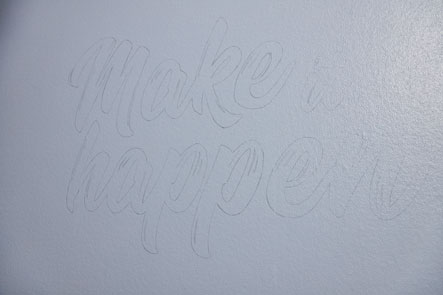
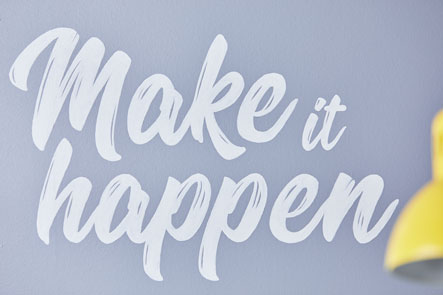
"Make it happen" is perfect for this lettering wall design.
The cool image only needs to be copied and painted with the help of a template and a projector. Sounds too good to be true? See for yourself and customise your own walls!
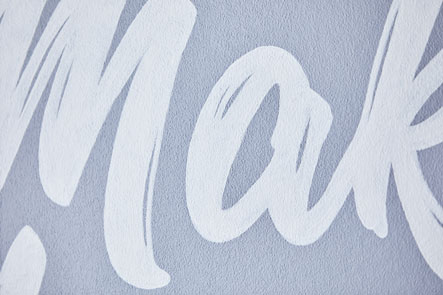
First apply ERFURT-Vliesfaser MAXX Sand to the wall. You can find detailed step-by-step instructions for this at www.erfurt.com/vliesfaser-tapezieren. Other finely textured, nonwoven wallpaper or nonwoven woodchip wallcoverings are also ideal as the background for this creative wall design.
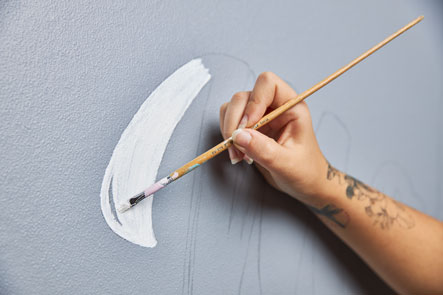
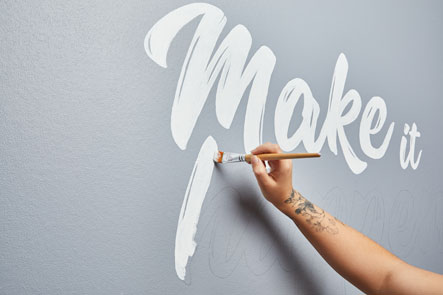
And now unleash your creativity!
HANDY HINT: When priming the wall in grey, the areas painted first will often dry before you have painted the entire area. This gives the impression of darker and lighter areas. The overall painted area will look more even once the paint has dried.
No longer happy with your quote or feel that it has not succeeded visually as well as you had hoped? Not a problem – simply paint over it again! All our wallcoverings can be re-painted several times and are therefore wonderfully versatile and adaptable.