Leaf by leaf

Step-by-step instruction

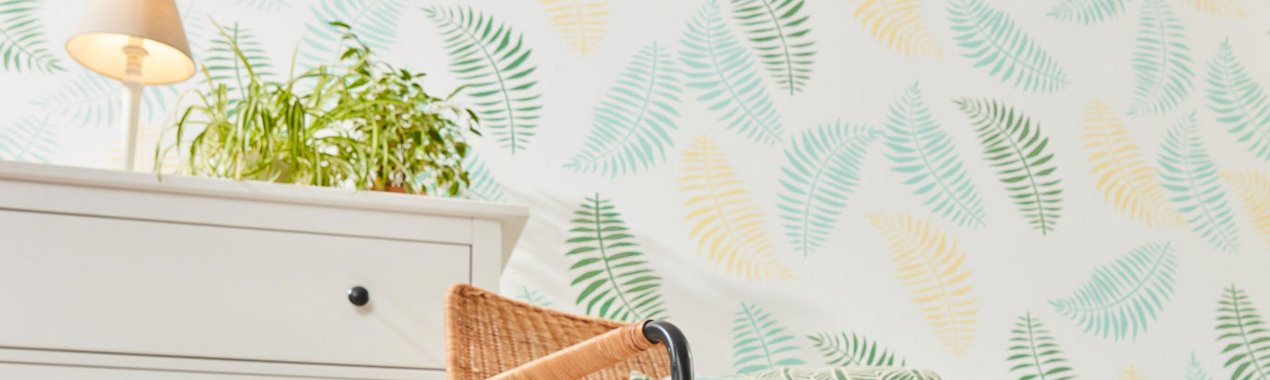
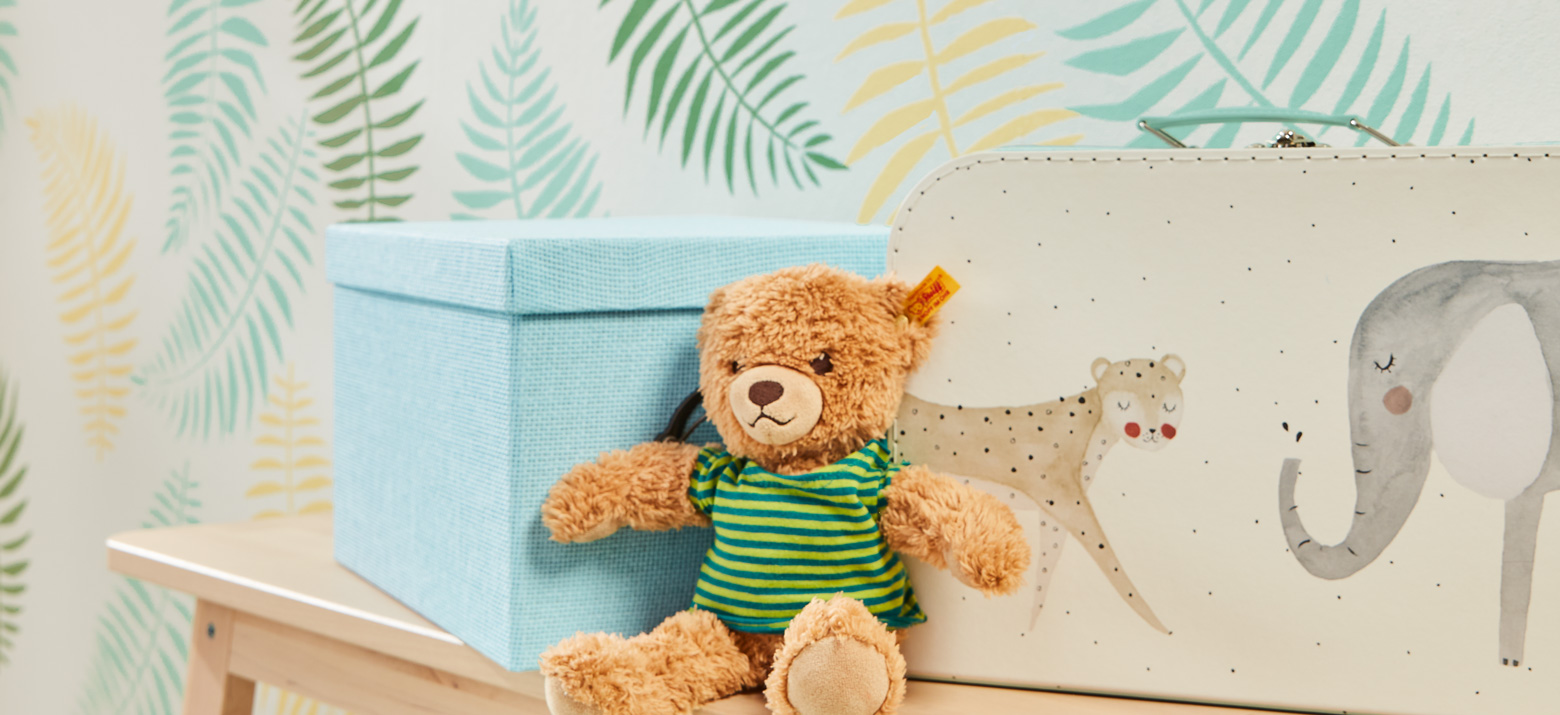
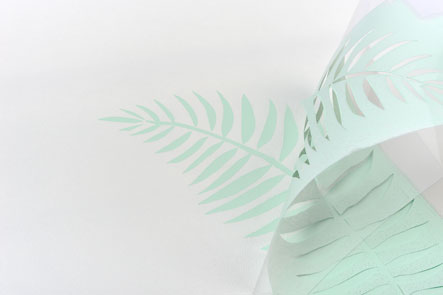
Create a delicate and pretty wall with a home-made leaf template. This image works well in a children’s playroom, as well as in a lounge, dining room or bedroom. Other colour combinations also look great! 

First apply ERFURT-Vliesfaser MAXX Spot to the wall. You can find detailed step-by-step instructions for this at www.erfurt.com/vliesfaser-tapezieren. Then use white paint as an undercoat. Other finely textured nonwoven wallpaper or nonwoven woodchip wallcoverings are also great as the background for this creative “leafy” design. 

And don't worry - if something goes wrong or you don’t like the look, it’s not a problem. Just grab some paint and paint over it. All our wallcoverings can be re-painted several times and are therefore wonderfully versatile and adaptable.


Instructions and list of materials

Template

1. Position the cutting pad on the work surface, have the transparent film to hand and print out the template in its original size.

2. Place the template with the image facing up in the centre of the transparent film and fix it in place. The easiest way is to use masking tape.

3. Stick down all four sides. Make sure that the template does not create waves under the transparent film. That way nothing should slip when you are cutting it.

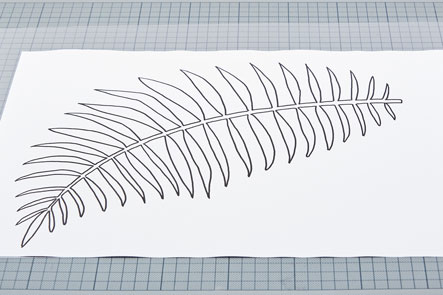
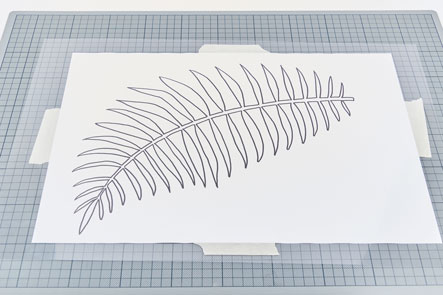
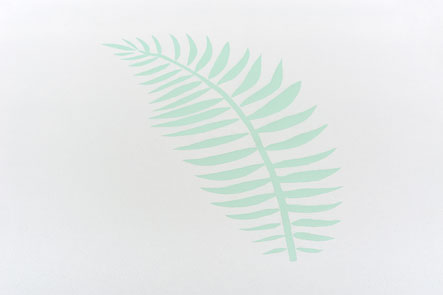
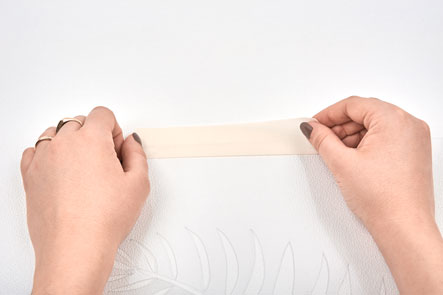
4. Now use a Stanley knife to cut the transparent film along the lines of the template. Make sure that you cut right through the transparent film. Don’t worry if you also cut the paper on which the template is printed! If possible, do not cut out the leaves right down to the stalk, as this will keep the stencil stable. Produce three templates like this so that you have one template for each colour.

5. Now let’s get started with the painting. Use a stick or brush to mix the paint well before using it.

6. Carefully pour a little paint into your paint tray.

7. Roll the roller in the paint so that it is covered in paint.

8. Carefully scrape off any excess paint on the side of the paint tray to ensure that you apply the paint evenly.

9. Now attach the home-made template wherever your wish on the wall. The easiest way is to use masking tape.

10. Roll the roller carefully with slight pressure over the stencil. Make sure that all cut-outs of the template are covered by paint, so that the image does not have any white spots.

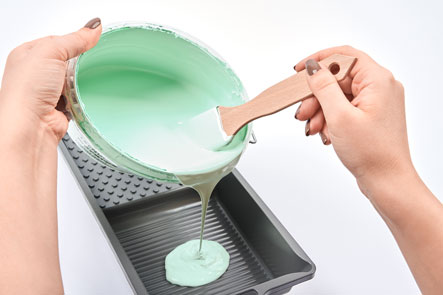
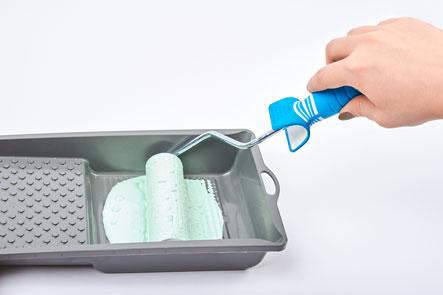
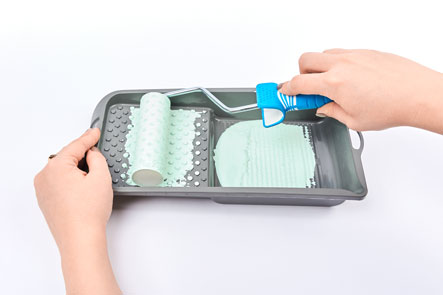
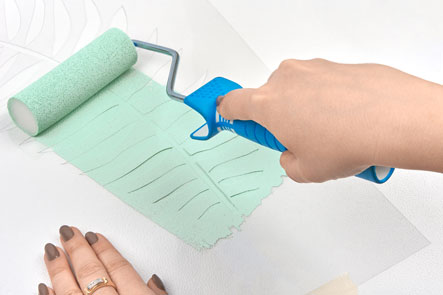
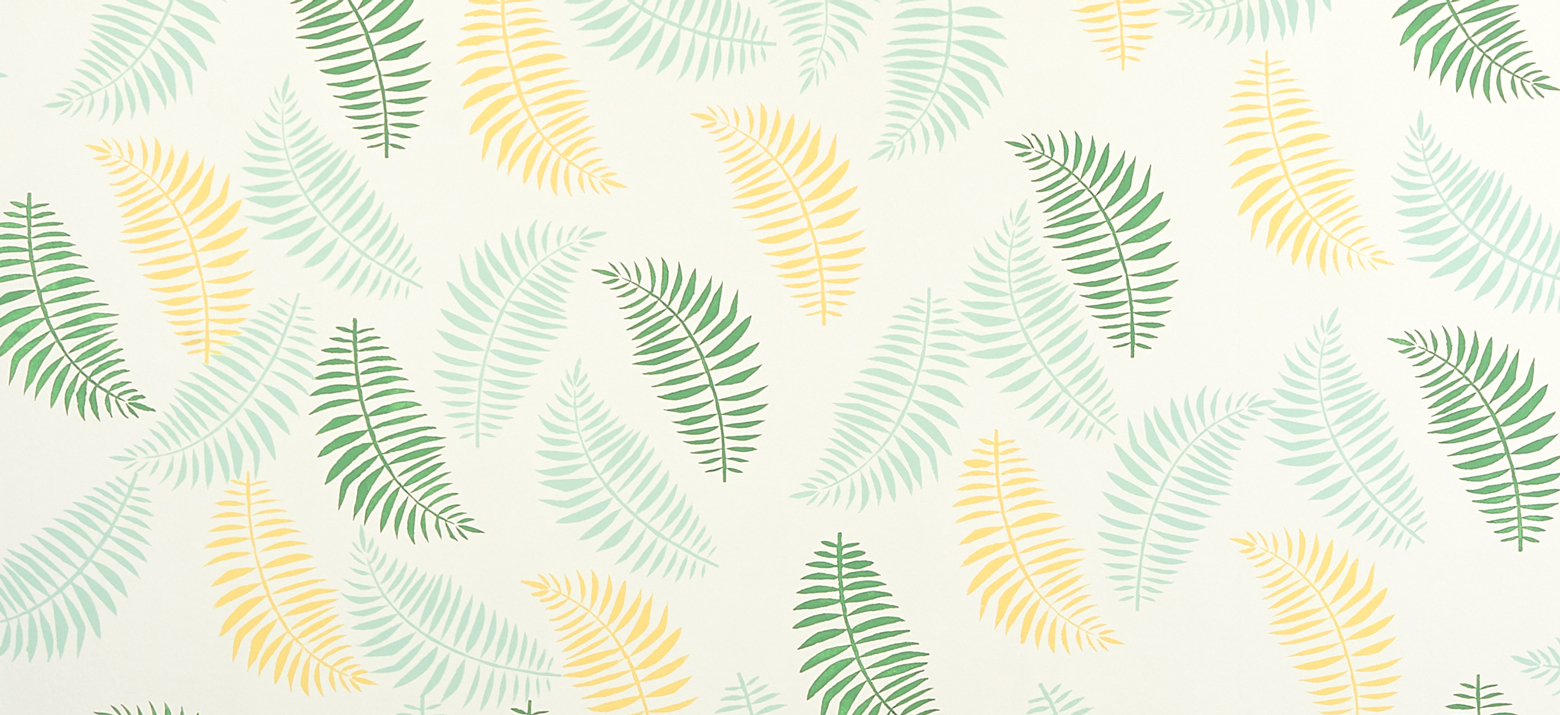
11. Now carefully peel off the template, reposition it and paint more leaves on the wall. Preferably start with the lightest paint and position the leaves randomly on the wall. Then proceed in the same way with the darkest colour. Then fill all the remaining gaps with the middle shade. Use a new template for each colour and thoroughly clean and dry the paint tray.

12. If there is slight unevenness in the finished image, you can easily correct this with a thin brush and some paint.

List of tools

  • Ladder
  • Paintbrush
  • Paint roller
  • Paint tray
  • Stanley knife
  • Cutting pad

List of materials

  • ERFURT-Vliesfaser MAXX Spot or another slightly textured wallcovering
  • Paste for the new wallcovering
  • White paint and three harmonising paint colours of your choice.
  • 3 x A3 or larger transparent film, 2 mm thick
  • Masking tape
Erfurt_Palmenblaetter_0117_thumb_large

Wall design leaf by leaf